
Gmail Filters
Simple Guide On How To Use Spam Filter iPhone Email (+ AI Email Guide)
January 28th, 2024
Welcome to our blog on spam filter iPhone email! If you're like me, you probably receive countless emails every day, and sifting through them can be a real challenge. In this blog, I will show you how to effectively manage and filter spam emails on your iPhone, ensuring that your inbox remains clean and clutter-free.
In today's digital age, where our smartphones have become an extension of ourselves, it's crucial to have a reliable spam filter for our emails. The last thing we want is to waste our valuable time sorting through irrelevant messages or falling victim to phishing scams. But don't worry, I've got you covered! I will guide you through the steps to set up and optimize your iPhone's spam filter, so you can regain control of your inbox and focus on what truly matters.
But that's not all! I will also address other common email-related concerns, such as how do I empty my mailbox, ensuring that you have enough storage space for important messages and attachments. So, if you're ready to take control of your email experience and learn some valuable tips and tricks along the way, then keep reading, because this blog is designed to empower you with the knowledge and tools needed to conquer the chaos of spam emails on your iPhone. It's time to reclaim your inbox and enjoy a clutter-free digital life!
Table of Contents
Simple Guide On How To Use A Spam Filter On iPhone for Gmail
Complete Step-by-Step Guide On How To Use Ultra's AI Email Filtering Feature
Take Control of Your Email Inbox With Ultra — Get To Inbox Zero Daily
What Is The Spam Filter On iPhone for Email?
Email has become an essential communication tool for both personal and professional purposes. With the sheer volume of emails we receive every day, it's easy to get overwhelmed by unwanted messages. That's where the spam filter on iPhone for email comes in. We will explore what exactly the spam filter is, how it works, and how you can set it up on your iPhone, specifically for Gmail.
Understanding the Spam Filter
The spam filter on iPhone for email is a built-in feature that helps identify and separate unwanted or malicious emails from your genuine messages. It is designed to protect you from email spam, phishing attempts, and other types of unsolicited messages that could potentially harm your device or compromise your personal information.
How Does It Work?
The spam filter on iPhone analyzes the content, sender information, and other factors of incoming emails to determine if they are spam or legitimate messages. By using sophisticated algorithms, the filter can recognize patterns and characteristics commonly associated with spam emails. It takes into account a variety of factors, including the sender's reputation, email content, and user feedback, to evaluate the likelihood of an email being spam.
Setting Up the Spam Filter on iPhone for Gmail
If you use Gmail as your primary email service on your iPhone, setting up the spam filter is a breeze. Here's a step-by-step guide to help you get started:
Step 1
Open the Settings app on your iPhone and tap on "Mail".
Step 2
Select "Accounts" and choose your Gmail account.
Step 3
Tap on "Advanced" and then select "Spam".
Step 4
Toggle the switch next to "Enable" to activate the spam filter.
Step 5
You can also customize the sensitivity of the spam filter by adjusting the "Mark as Spam" threshold. This will determine how strict or lenient the filter is when identifying potential spam emails.
Step 6
You may also want to enable the "Move to Junk" option, which automatically moves detected spam emails to the Junk folder.
Step 7
Once you've made your desired changes, tap on "Done" to save your settings.
By following these simple steps, you can ensure that your iPhone's spam filter is actively protecting your email inbox from unwanted messages.
With the spam filter on iPhone for email, you can enjoy a clutter-free inbox and focus on the important messages that matter. By understanding how this feature works and setting it up correctly, you can effectively shield yourself from spam emails, phishing attempts, and other potential threats. Take advantage of this powerful tool to streamline your email experience and enjoy a more productive and secure digital life.
Related Reading
• Email Filters Gmail
• Gmail Date Filter
• Gmail Filter Syntax
• How To Remove Filter In Gmail
• Gmail Apply Filter Retroactively
Simple Guide On How To Use A Spam Filter On iPhone for Gmail

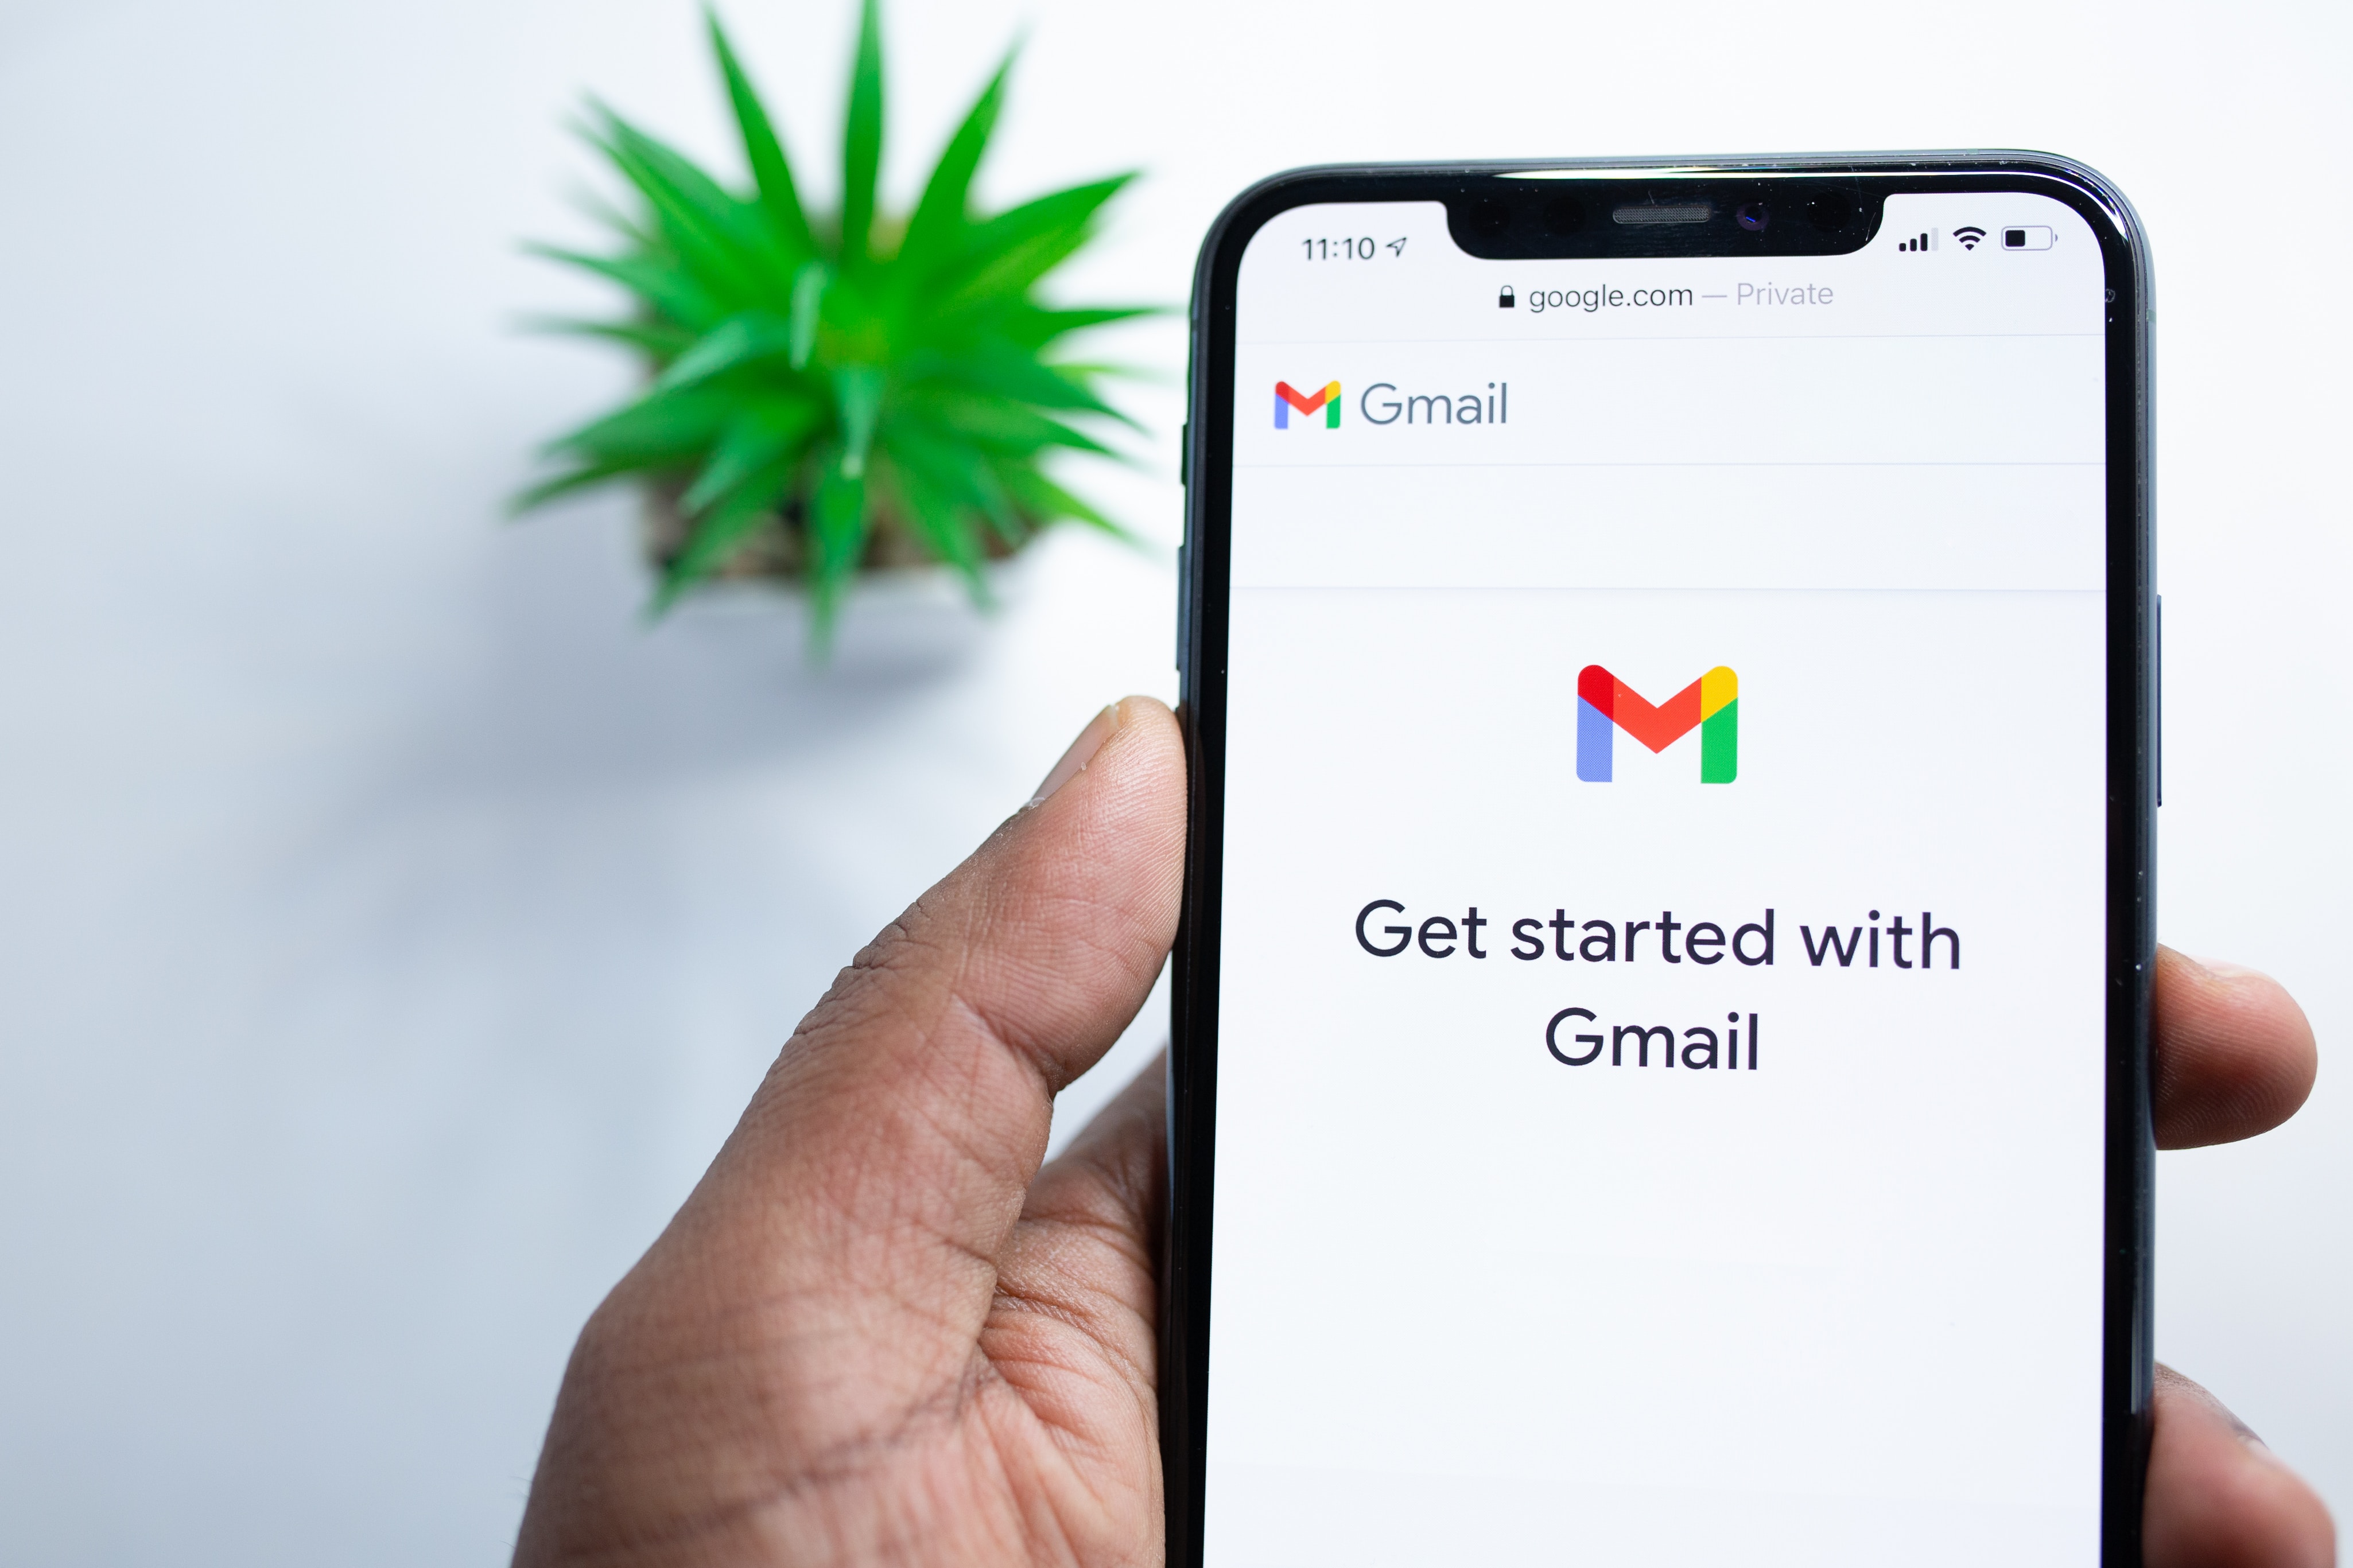
Email has become an integral part of our communication. Spam emails can be a nuisance, cluttering our inboxes and wasting valuable time. Fortunately, Gmail provides a powerful spam filter that can help eliminate unwanted messages. In this simple guide, we will walk you through the steps to create a spam filter for Gmail on your iPhone.
Step 1: Access the Gmail App
To begin, make sure you have the Gmail app installed on your iPhone. Open the app and enter your login credentials to access your Gmail account.
Step 2: Open the Settings Menu
Once you are logged in, tap on the menu icon located at the top left corner of the screen. This will open the settings menu.
Step 3: Navigate to the Settings Page
From the settings menu, scroll down and tap on the "Settings" option. This will take you to the settings page for your Gmail account.
Step 4: Select Your Gmail Account
On the settings page, you will see a list of your Gmail accounts if you have multiple accounts logged in. Tap on the account for which you want to create a spam filter.
Step 5: Access the Spam Filter Settings
After selecting your account, scroll down to find the "Spam filter" option. Tap on it to access the spam filter settings.
Step 6: Enable the Spam Filter
On the spam filter settings page, you will see a toggle switch to enable or disable the spam filter. Make sure the switch is turned on to activate the spam filter.
Step 7: Customize the Spam Filtering Options
By default, Gmail's spam filter is set to its recommended level. You can further customize the filtering options according to your preferences. To do this, tap on the "Filter strength" option.
Step 8: Adjust the Filter Strength
In the filter strength settings, you can choose between three options: "Strict," "Moderate," and "Minimal." The "Strict" setting will catch most spam emails, but it may also flag some legitimate messages as spam. The "Moderate" setting is the recommended option as it provides a balance between catching spam and avoiding false positives. The "Minimal" setting is less aggressive and may allow some spam emails to slip through. Choose the option that suits your needs and tap on it to apply the changes.
Step 9: Save the Changes
Once you have adjusted the filter strength, tap on the "Save" button located at the top right corner of the screen to save your changes.
Step 10: Enjoy a Clean Inbox
Congratulations! You have successfully created a spam filter for Gmail on your iPhone. From now on, Gmail will automatically filter out most spam emails, keeping your inbox clean and organized.
By following this simple guide, you can easily create a spam filter for Gmail on your iPhone. With an effective spam filter in place, you can focus on the important emails and save time and energy by avoiding unwanted messages. Take control of your inbox and enjoy a clutter-free email experience.
Complete Step-by-Step Guide On How To Use Ultra's AI Email Filtering Feature
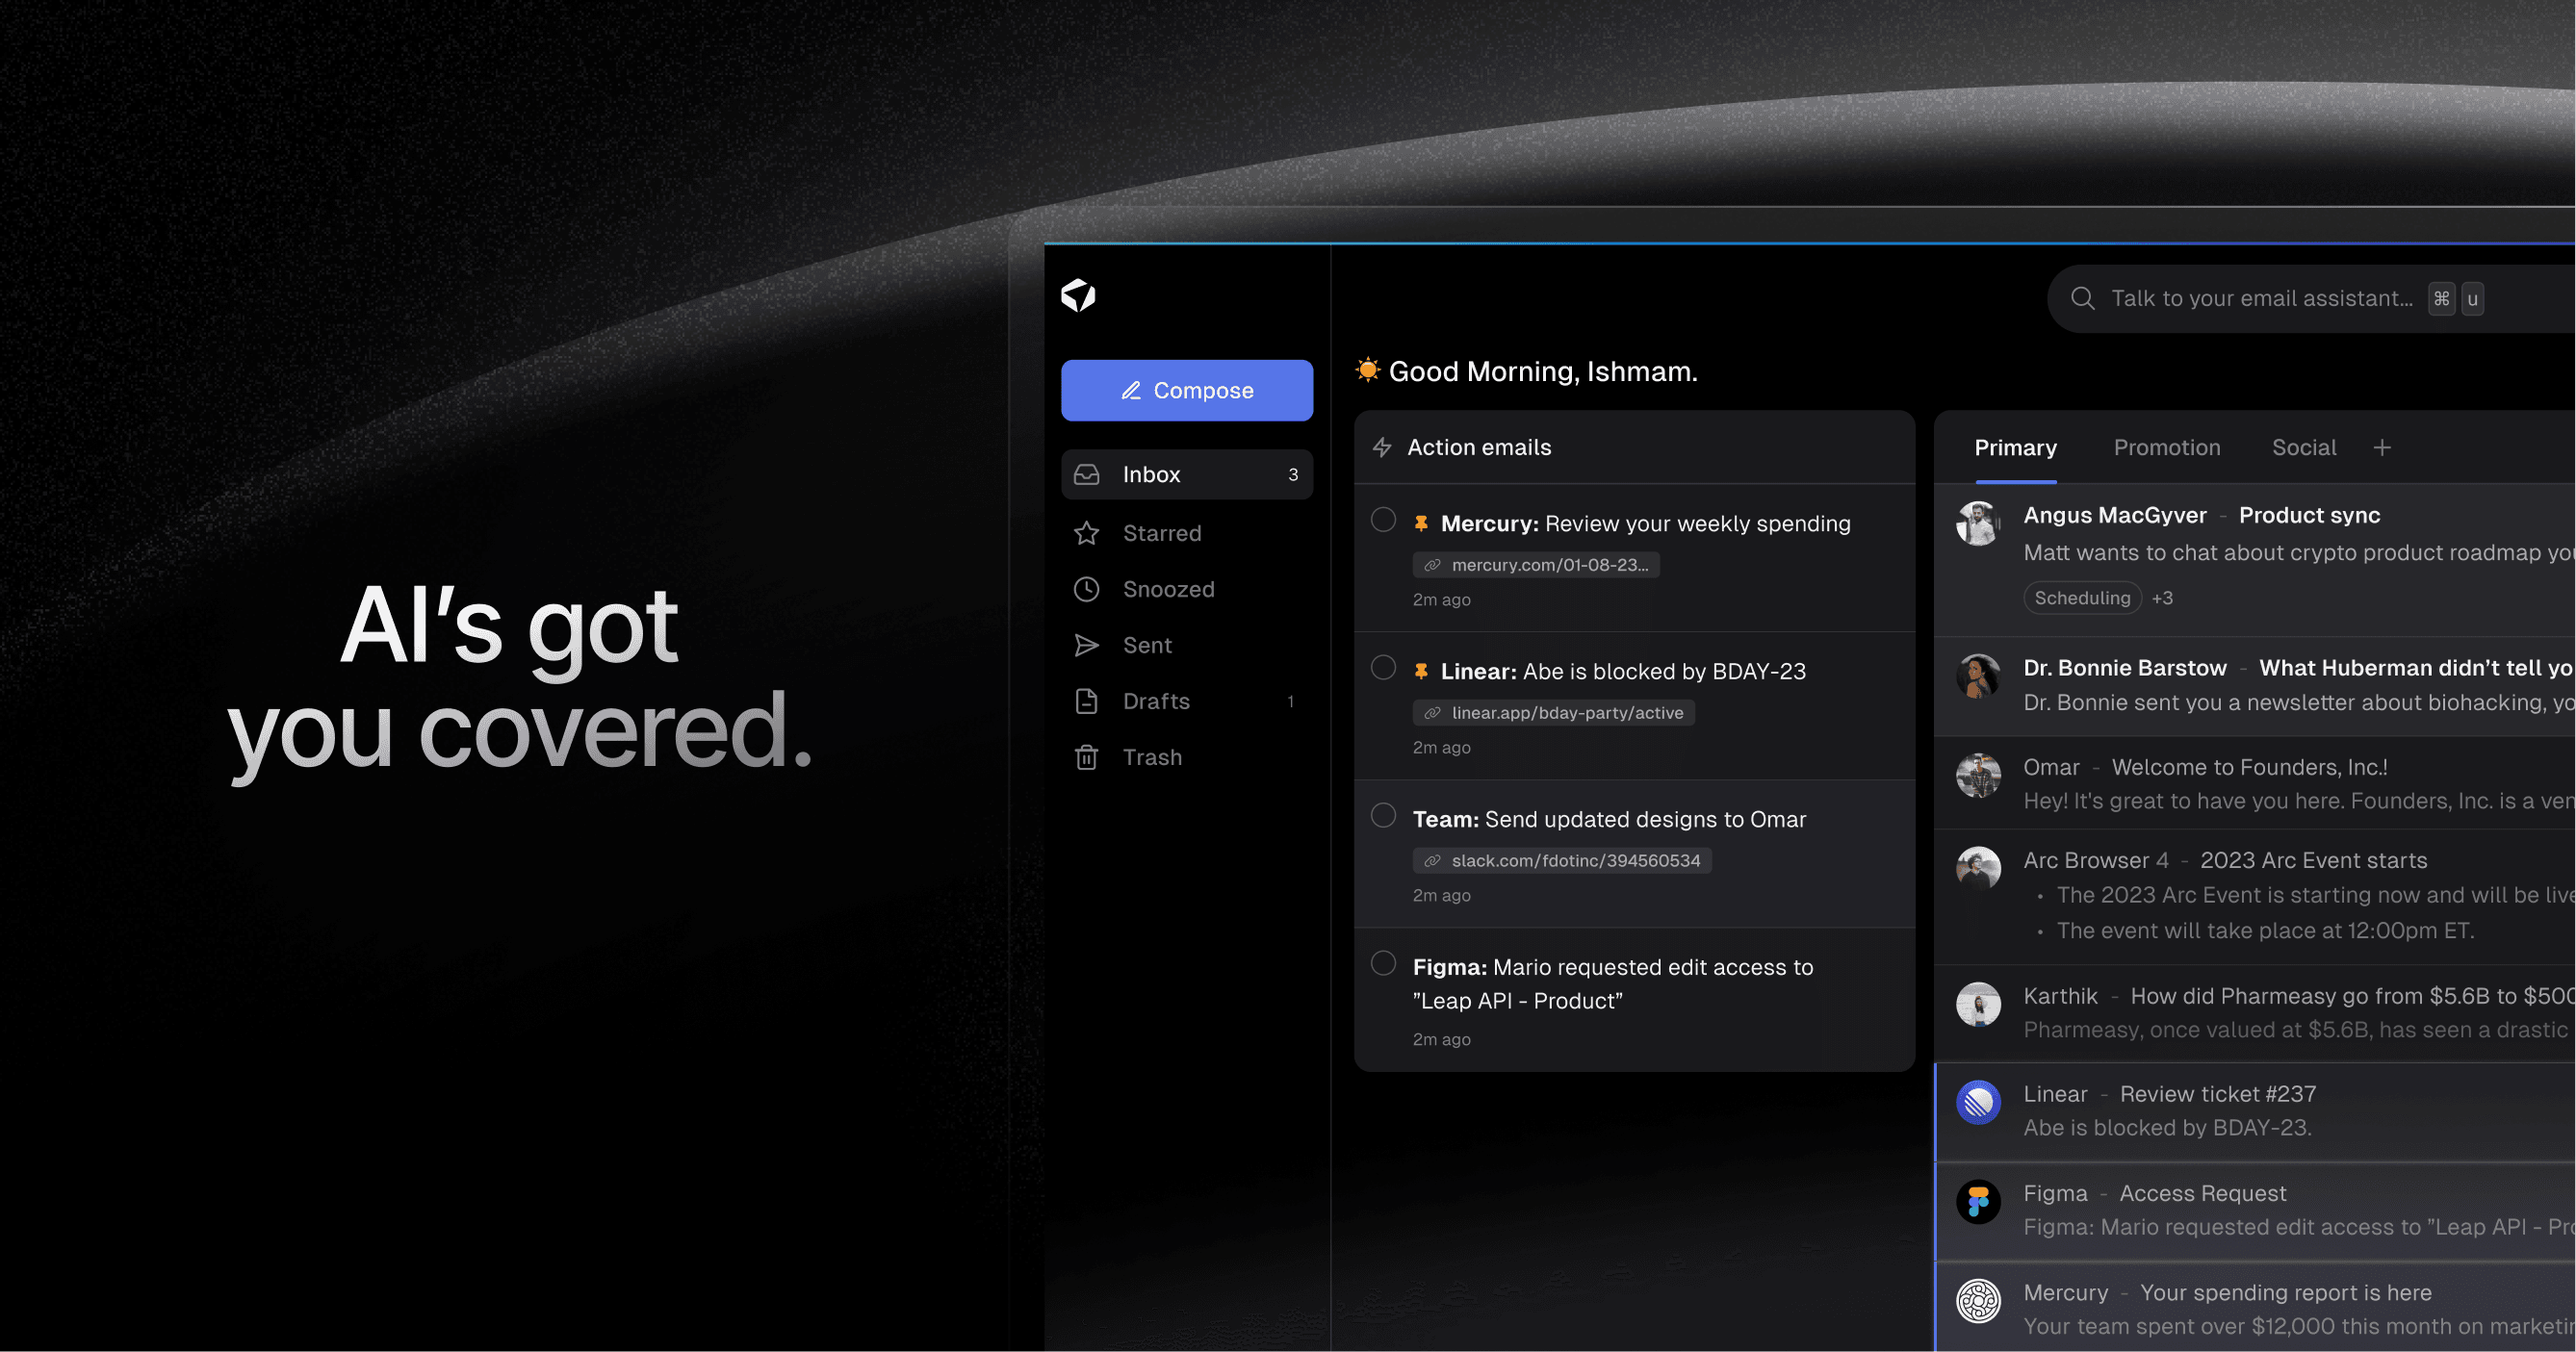
Watch this guide to learn how to use Ultra to empty your mailbox in minutes, today!
Chat with your email inbox like ChatGPT, get a daily to-do list based on your inbox, and much more.
Try Ultra for free today and discover a whole new way to manage your emails with AI. Save time, never miss important emails again, and unleash the full potential of your inbox with Ultra.
Related Reading
• Best Email Spam Filter
• How To Filter Unread Emails In Gmail
• Gmail Filter Move To Folder
• Gmail Filter Wildcard
• Gmail Filter Multiple Email Addresses
• Gmail Filter For Multiple Email Addresses
• Gmail Disable Spam Filter
• Gmail Filter Has The Words
• Gmail Filter Email To Folder
• Gmail Filter Subject Contains Words
• Gmail Filter Older Than
• Gmail Filter Regex
• Gmail Filter Delete After X Days
• Gmail Filter Multiple Senders
• Gmail Filter Calendar Invites
• Reset Gmail Spam Filter
• Gmail Create Filter To Forward Email
• Gmail Filter Apply Multiple Labels
• How To Filter Large Emails In Gmail
• Gmail Filter Not From Domain
Take Control of Your Email Inbox With Ultra — Get To Inbox Zero Daily
Inboxes are overflowing with emails, both important and spammy, it's easy to miss out on crucial information and waste valuable time sifting through endless threads. But what if I told you there's a solution that can revolutionize the way you manage your emails? Ultra, the AI-powered email assistant that is here to transform your inbox experience.
Crushing Your Inbox with AI
With Ultra, you can finally take back control of your inbox. Leveraging the power of artificial intelligence, Ultra helps you breeze through your emails in minutes, allowing you to focus on what truly matters. Say goodbye to the days of drowning in a sea of unread messages and missing out on action items.
Auto-generating AI Todo's
One of the standout features of Ultra is its ability to auto-generate AI todo's based on your emails and calendar. Imagine having an intelligent assistant that reads and understands your emails, extracting tasks and important deadlines for you. With Ultra, you can effortlessly stay organized and ensure that no important action items slip through the cracks.
Chat with Your Inbox
Have you ever wished you could have a conversation with your inbox? With Ultra, that dream becomes a reality. Just like interacting with ChatGPT, you can chat with your inbox, asking questions or giving commands. No more scrolling through endless threads or searching for specific emails. Ultra understands your queries and responds with lightning speed, helping you find what you need in seconds.
AI-Shortened Summaries
Long email threads can be overwhelming, especially when you're pressed for time. That's where Ultra's AI-shortened summaries come to the rescue. These concise summaries provide you with a quick glance of the email content, allowing you to skim through and grasp the key points effortlessly. Gone are the days of wasting precious minutes trying to decipher lengthy messages.
Try Ultra Today
Are you ready to experience the future of email management? You can try Ultra for free today! Simply log in with your Google account, and within minutes, you'll be on your way to a more efficient and organized inbox. Say goodbye to email overload and hello to a streamlined workflow that saves you time and ensures you never miss another important email.
Don't let your inbox control you. Take charge with Ultra and unleash the power of AI to supercharge your productivity. Try Ultra today and embrace a new era of email management. Your inbox will thank you.
Related Reading
• Gmail Spam Filter Not Working
• Free Email Spam Filter For Android
• Email Spam Filter Service
Welcome to our blog on spam filter iPhone email! If you're like me, you probably receive countless emails every day, and sifting through them can be a real challenge. In this blog, I will show you how to effectively manage and filter spam emails on your iPhone, ensuring that your inbox remains clean and clutter-free.
In today's digital age, where our smartphones have become an extension of ourselves, it's crucial to have a reliable spam filter for our emails. The last thing we want is to waste our valuable time sorting through irrelevant messages or falling victim to phishing scams. But don't worry, I've got you covered! I will guide you through the steps to set up and optimize your iPhone's spam filter, so you can regain control of your inbox and focus on what truly matters.
But that's not all! I will also address other common email-related concerns, such as how do I empty my mailbox, ensuring that you have enough storage space for important messages and attachments. So, if you're ready to take control of your email experience and learn some valuable tips and tricks along the way, then keep reading, because this blog is designed to empower you with the knowledge and tools needed to conquer the chaos of spam emails on your iPhone. It's time to reclaim your inbox and enjoy a clutter-free digital life!
Table of Contents
Simple Guide On How To Use A Spam Filter On iPhone for Gmail
Complete Step-by-Step Guide On How To Use Ultra's AI Email Filtering Feature
Take Control of Your Email Inbox With Ultra — Get To Inbox Zero Daily
What Is The Spam Filter On iPhone for Email?
Email has become an essential communication tool for both personal and professional purposes. With the sheer volume of emails we receive every day, it's easy to get overwhelmed by unwanted messages. That's where the spam filter on iPhone for email comes in. We will explore what exactly the spam filter is, how it works, and how you can set it up on your iPhone, specifically for Gmail.
Understanding the Spam Filter
The spam filter on iPhone for email is a built-in feature that helps identify and separate unwanted or malicious emails from your genuine messages. It is designed to protect you from email spam, phishing attempts, and other types of unsolicited messages that could potentially harm your device or compromise your personal information.
How Does It Work?
The spam filter on iPhone analyzes the content, sender information, and other factors of incoming emails to determine if they are spam or legitimate messages. By using sophisticated algorithms, the filter can recognize patterns and characteristics commonly associated with spam emails. It takes into account a variety of factors, including the sender's reputation, email content, and user feedback, to evaluate the likelihood of an email being spam.
Setting Up the Spam Filter on iPhone for Gmail
If you use Gmail as your primary email service on your iPhone, setting up the spam filter is a breeze. Here's a step-by-step guide to help you get started:
Step 1
Open the Settings app on your iPhone and tap on "Mail".
Step 2
Select "Accounts" and choose your Gmail account.
Step 3
Tap on "Advanced" and then select "Spam".
Step 4
Toggle the switch next to "Enable" to activate the spam filter.
Step 5
You can also customize the sensitivity of the spam filter by adjusting the "Mark as Spam" threshold. This will determine how strict or lenient the filter is when identifying potential spam emails.
Step 6
You may also want to enable the "Move to Junk" option, which automatically moves detected spam emails to the Junk folder.
Step 7
Once you've made your desired changes, tap on "Done" to save your settings.
By following these simple steps, you can ensure that your iPhone's spam filter is actively protecting your email inbox from unwanted messages.
With the spam filter on iPhone for email, you can enjoy a clutter-free inbox and focus on the important messages that matter. By understanding how this feature works and setting it up correctly, you can effectively shield yourself from spam emails, phishing attempts, and other potential threats. Take advantage of this powerful tool to streamline your email experience and enjoy a more productive and secure digital life.
Related Reading
• Email Filters Gmail
• Gmail Date Filter
• Gmail Filter Syntax
• How To Remove Filter In Gmail
• Gmail Apply Filter Retroactively
Simple Guide On How To Use A Spam Filter On iPhone for Gmail
Email has become an integral part of our communication. Spam emails can be a nuisance, cluttering our inboxes and wasting valuable time. Fortunately, Gmail provides a powerful spam filter that can help eliminate unwanted messages. In this simple guide, we will walk you through the steps to create a spam filter for Gmail on your iPhone.
Step 1: Access the Gmail App
To begin, make sure you have the Gmail app installed on your iPhone. Open the app and enter your login credentials to access your Gmail account.
Step 2: Open the Settings Menu
Once you are logged in, tap on the menu icon located at the top left corner of the screen. This will open the settings menu.
Step 3: Navigate to the Settings Page
From the settings menu, scroll down and tap on the "Settings" option. This will take you to the settings page for your Gmail account.
Step 4: Select Your Gmail Account
On the settings page, you will see a list of your Gmail accounts if you have multiple accounts logged in. Tap on the account for which you want to create a spam filter.
Step 5: Access the Spam Filter Settings
After selecting your account, scroll down to find the "Spam filter" option. Tap on it to access the spam filter settings.
Step 6: Enable the Spam Filter
On the spam filter settings page, you will see a toggle switch to enable or disable the spam filter. Make sure the switch is turned on to activate the spam filter.
Step 7: Customize the Spam Filtering Options
By default, Gmail's spam filter is set to its recommended level. You can further customize the filtering options according to your preferences. To do this, tap on the "Filter strength" option.
Step 8: Adjust the Filter Strength
In the filter strength settings, you can choose between three options: "Strict," "Moderate," and "Minimal." The "Strict" setting will catch most spam emails, but it may also flag some legitimate messages as spam. The "Moderate" setting is the recommended option as it provides a balance between catching spam and avoiding false positives. The "Minimal" setting is less aggressive and may allow some spam emails to slip through. Choose the option that suits your needs and tap on it to apply the changes.
Step 9: Save the Changes
Once you have adjusted the filter strength, tap on the "Save" button located at the top right corner of the screen to save your changes.
Step 10: Enjoy a Clean Inbox
Congratulations! You have successfully created a spam filter for Gmail on your iPhone. From now on, Gmail will automatically filter out most spam emails, keeping your inbox clean and organized.
By following this simple guide, you can easily create a spam filter for Gmail on your iPhone. With an effective spam filter in place, you can focus on the important emails and save time and energy by avoiding unwanted messages. Take control of your inbox and enjoy a clutter-free email experience.
Complete Step-by-Step Guide On How To Use Ultra's AI Email Filtering Feature
Watch this guide to learn how to use Ultra to empty your mailbox in minutes, today!
Chat with your email inbox like ChatGPT, get a daily to-do list based on your inbox, and much more.
Try Ultra for free today and discover a whole new way to manage your emails with AI. Save time, never miss important emails again, and unleash the full potential of your inbox with Ultra.
Related Reading
• Best Email Spam Filter
• How To Filter Unread Emails In Gmail
• Gmail Filter Move To Folder
• Gmail Filter Wildcard
• Gmail Filter Multiple Email Addresses
• Gmail Filter For Multiple Email Addresses
• Gmail Disable Spam Filter
• Gmail Filter Has The Words
• Gmail Filter Email To Folder
• Gmail Filter Subject Contains Words
• Gmail Filter Older Than
• Gmail Filter Regex
• Gmail Filter Delete After X Days
• Gmail Filter Multiple Senders
• Gmail Filter Calendar Invites
• Reset Gmail Spam Filter
• Gmail Create Filter To Forward Email
• Gmail Filter Apply Multiple Labels
• How To Filter Large Emails In Gmail
• Gmail Filter Not From Domain
Take Control of Your Email Inbox With Ultra — Get To Inbox Zero Daily
Inboxes are overflowing with emails, both important and spammy, it's easy to miss out on crucial information and waste valuable time sifting through endless threads. But what if I told you there's a solution that can revolutionize the way you manage your emails? Ultra, the AI-powered email assistant that is here to transform your inbox experience.
Crushing Your Inbox with AI
With Ultra, you can finally take back control of your inbox. Leveraging the power of artificial intelligence, Ultra helps you breeze through your emails in minutes, allowing you to focus on what truly matters. Say goodbye to the days of drowning in a sea of unread messages and missing out on action items.
Auto-generating AI Todo's
One of the standout features of Ultra is its ability to auto-generate AI todo's based on your emails and calendar. Imagine having an intelligent assistant that reads and understands your emails, extracting tasks and important deadlines for you. With Ultra, you can effortlessly stay organized and ensure that no important action items slip through the cracks.
Chat with Your Inbox
Have you ever wished you could have a conversation with your inbox? With Ultra, that dream becomes a reality. Just like interacting with ChatGPT, you can chat with your inbox, asking questions or giving commands. No more scrolling through endless threads or searching for specific emails. Ultra understands your queries and responds with lightning speed, helping you find what you need in seconds.
AI-Shortened Summaries
Long email threads can be overwhelming, especially when you're pressed for time. That's where Ultra's AI-shortened summaries come to the rescue. These concise summaries provide you with a quick glance of the email content, allowing you to skim through and grasp the key points effortlessly. Gone are the days of wasting precious minutes trying to decipher lengthy messages.
Try Ultra Today
Are you ready to experience the future of email management? You can try Ultra for free today! Simply log in with your Google account, and within minutes, you'll be on your way to a more efficient and organized inbox. Say goodbye to email overload and hello to a streamlined workflow that saves you time and ensures you never miss another important email.
Don't let your inbox control you. Take charge with Ultra and unleash the power of AI to supercharge your productivity. Try Ultra today and embrace a new era of email management. Your inbox will thank you.
Related Reading
• Gmail Spam Filter Not Working
• Free Email Spam Filter For Android
• Email Spam Filter Service
Imagine a world without inboxes.