
Gmail Filters
Simple Guide On Gmail Filter Apply Multiple Labels & Free AI Email Filtering Tool
February 14th, 2024
If you're drowning in a sea of emails and struggling to keep your Gmail inbox organized, fear not! In this post, we'll explore the magical world of Gmail filters and show you how to apply multiple labels to your incoming messages. By using clever filters and labels, you can easily sort, prioritize, and find your emails with ease.
Whether you're a busy professional or just someone with a packed inbox, learning how to effectively use Gmail filters and apply multiple labels will revolutionize the way you manage your email. So, let's dive in and discover the secrets to achieving inbox nirvana. Oh, and by the way, if you're also wondering "how do I empty my mailbox?" - we've got you covered!
Table of Contents
Complete Step-by-Step Guide On How To Use Ultra's AI Email Filtering Feature
Take Control of Your Email Inbox With Ultra — Get To Inbox Zero Daily
What Is A Gmail Filter?

Gmail filter is a powerful feature provided by Google that allows users to automatically organize and manage their incoming emails. With this feature, users can create specific criteria or rules for Gmail to apply to incoming emails. These criteria can be based on the sender's email address, the subject line, specific keywords, or other factors.
By setting up filters, users can instruct Gmail to automatically perform certain actions on incoming emails that meet the specified criteria. This can include applying labels, marking emails as important, archiving or deleting them, forwarding them to another email address, or even sending an automated reply.
Gmail filters are particularly useful for managing large volumes of emails and ensuring that important messages are easily accessible. By applying multiple labels to filtered emails, users can further enhance their organization and categorization efforts.
The Power of Gmail Filters: Simplify Your Inbox and Boost Productivity
1. Introduce the concept of Gmail filters and their purpose.
2. Emphasize the benefits of using filters in terms of inbox organization and productivity.
3. Mention the ability to apply multiple labels to filtered emails for enhanced organization.
Related Reading
• Email Filters Gmail
• Spam Filter Iphone Email
• Gmail Date Filter
• Gmail Filter Syntax
• How To Remove Filter In Gmail
• Gmail Apply Filter Retroactively
Simple Guide On Gmail Filter Apply Multiple Labels

Gmail filters are a powerful tool that can help you organize and manage your inbox effectively. By creating filters, you can automatically apply labels to incoming emails based on specific criteria. This allows you to categorize and prioritize your emails, making it easier to find and respond to important messages. In this guide, we will walk you through the process of creating a Gmail filter with multiple labels applied to it.
Step 1: Open Gmail and Access the Settings
To create a filter, start by opening Gmail and accessing the settings. You can do this by clicking on the gear icon in the top right corner of the screen and selecting "Settings" from the drop-down menu.
Step 2: Navigate to the Filters and Blocked Addresses Tab
Once you're in the settings, navigate to the "Filters and Blocked Addresses" tab. You'll find it at the top of the settings page, next to other tabs like "General" and "Accounts and Import."
Step 3: Create a New Filter
Click on the "Create a new filter" link to start creating your filter. This will open a window where you can specify the criteria for your filter.
Step 4: Define the Criteria for Your Filter
In the filter creation window, you can define the criteria for your filter. This includes options like the sender's email address, subject line, keywords, and more. Specify the criteria that you want your filter to apply to, depending on your specific needs.
Step 5: Preview the Filter Results
Once you've defined the criteria for your filter, click on the "Create filter" button to preview the emails that match your criteria. This step allows you to ensure that the filter is correctly configured before applying labels to the matching emails.
Step 6: Apply Labels to the Matching Emails
After previewing the filter results, you can choose to apply labels to the matching emails. To do this, select the "Apply the label" checkbox and choose the desired label from the drop-down menu. You can also create a new label by clicking on the "New label" option.
Step 7: Apply Multiple Labels
To apply multiple labels to the matching emails, you can repeat Step 6 for each label you want to add. Simply select the "Apply the label" checkbox again and choose a different label from the drop-down menu. You can add as many labels as you need to categorize your emails effectively.
Step 8: Save the Filter
Once you've applied the labels to the matching emails, click on the "Create filter" button to save your filter. Gmail will automatically apply the filter to all future incoming emails that meet the specified criteria.
Step 9: Test and Refine the Filter
It's a good practice to test your filter after creating it to ensure that it's working as intended. Send a test email that meets the filter criteria and check if the labels are applied correctly. If necessary, you can go back to the filter settings and make adjustments to refine your filter.
Step 10: Enjoy a More Organized Inbox
Congratulations! You have successfully created a Gmail filter with multiple labels applied to it. From now on, incoming emails that match the filter criteria will be automatically labeled, allowing you to keep your inbox organized and find important messages more efficiently.
Related Reading
• Best Email Spam Filter
• How To Filter Unread Emails In Gmail
• Gmail Filter Move To Folder
• Gmail Filter Wildcard
• Gmail Filter Multiple Email Addresses
• Gmail Filter For Multiple Email Addresses
• Gmail Disable Spam Filter
• Gmail Filter Has The Words
• Gmail Filter Email To Folder
• Gmail Filter Subject Contains Words
• Gmail Filter Older Than
• Gmail Filter Regex
• Gmail Filter Delete After X Days
• Gmail Filter Multiple Senders
• Gmail Filter Calendar Invites
• Reset Gmail Spam Filter
• Gmail Create Filter To Forward Email
• How To Filter Large Emails In Gmail
• Gmail Filter Not From Domain
Complete Step-by-Step Guide On How To Use Ultra's AI Email Filtering Feature
Watch this guide to learn how to use Ultra to empty your mailbox in minutes, today!
Chat with your email inbox like ChatGPT, get a daily to-do list based on your inbox, and much more.
Try Ultra for free today and discover a whole new way to manage your emails with AI. Save time, never miss important emails again, and unleash the full potential of your inbox with Ultra.
Take Control of Your Email Inbox With Ultra — Get To Inbox Zero Daily
Imagine a world without the overwhelming burden of an overflowing inbox. Picture yourself effortlessly navigating through your emails, swiftly identifying important action items, and leaving behind the days of being flooded with spam outreach emails. With Ultra, this is no longer a distant dream. Ultra leverages the power of AI to revolutionize your email experience, allowing you to crush your inbox, find what you need, and accomplish more in less time.
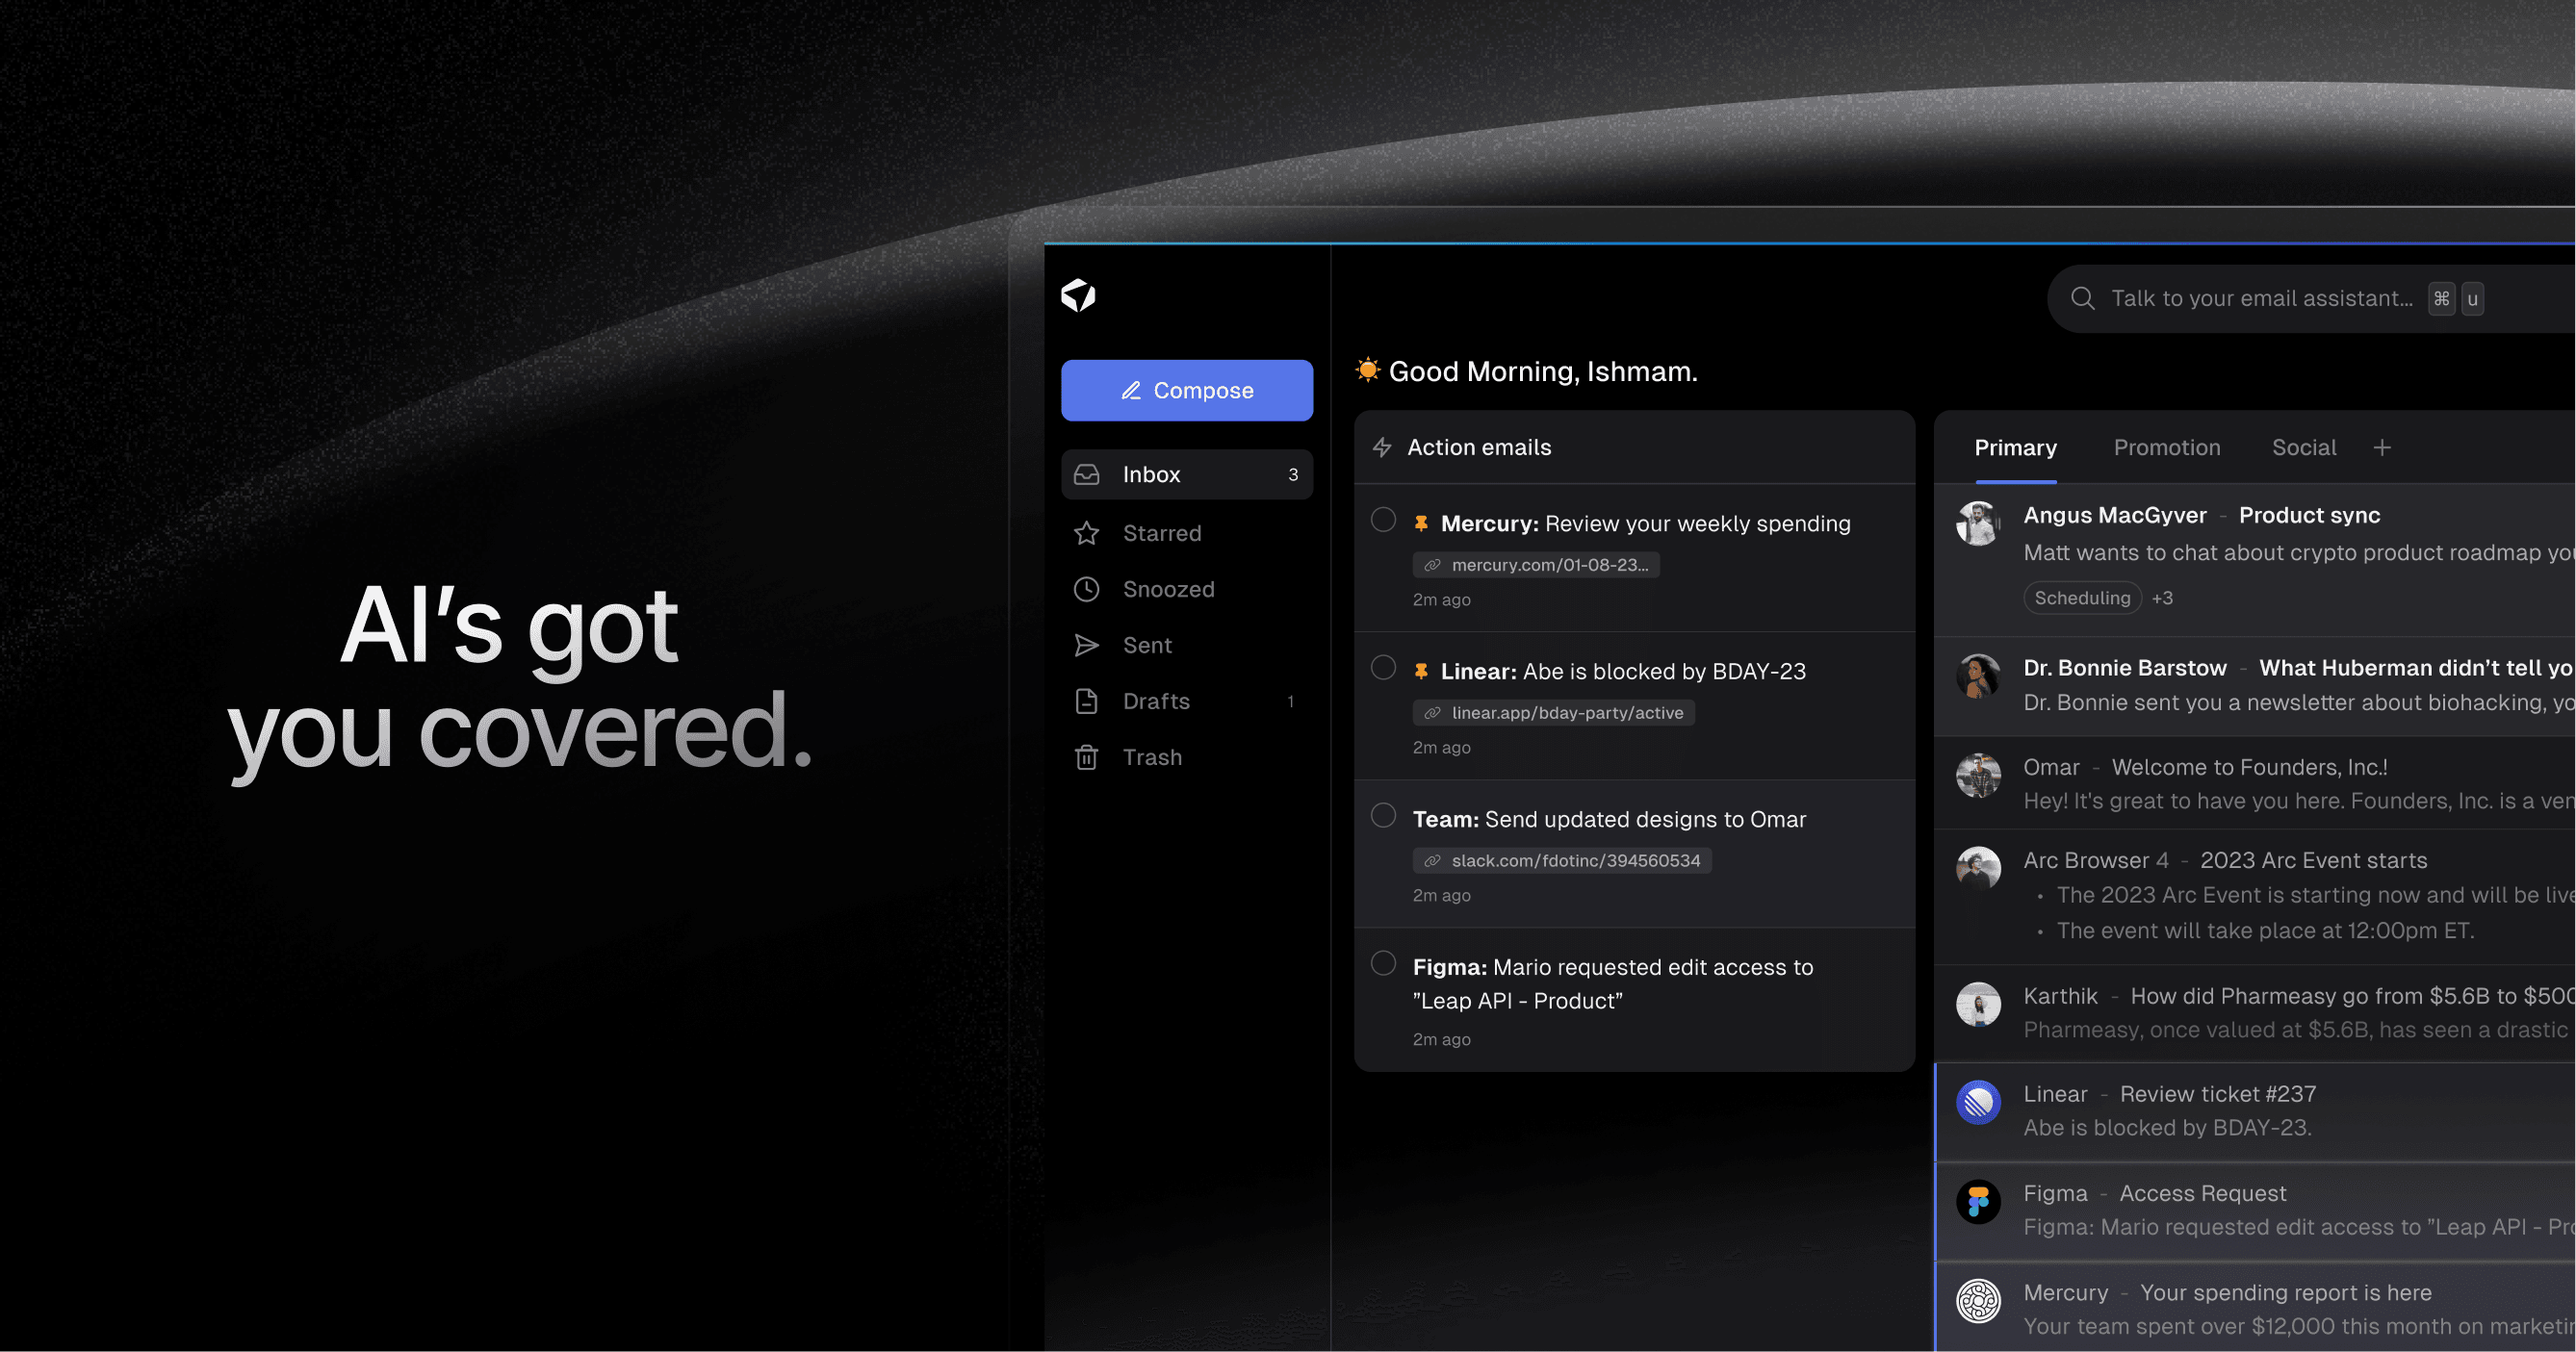
Auto-generate AI Todo's
One of the most significant features of Ultra is its ability to automatically generate AI todo's based on your emails and calendar. No longer will you need to spend precious time sifting through your inbox, manually identifying tasks and action items. Ultra's AI-powered assistant meticulously analyzes your emails and calendar events, extracting relevant information, and transforming them into actionable todo's. This revolutionary feature ensures that important tasks are never missed or forgotten, enabling you to streamline your workflow and achieve maximum productivity.
Chat with Your Inbox
Imagine having a conversation with your inbox, just like you would with a trusted assistant. Ultra offers you the ability to chat with your inbox, utilizing the same natural language processing capabilities found in its acclaimed sibling, ChatGPT. Whether you need to search for specific emails, organize your inbox, or request information, simply engage in a conversation with Ultra and experience the ease and efficiency of interacting with your email like never before. This intuitive and personalized communication with your inbox enhances the overall user experience, providing a seamless and effortless approach to managing your emails.
AI-Shortened Summaries
Long email threads can be overwhelming and time-consuming to navigate. Ultra solves this problem with AI-shortened summaries. These summaries condense the content of lengthy emails into concise and easily scannable snippets. By providing a quick overview of each email, Ultra allows you to skim through them at a glance, identifying crucial information without the need for extensive reading. This feature saves you valuable time while ensuring that you never miss any important details buried within lengthy conversations.
Ready to experience the power of Ultra's free AI email assistant? Try Ultra today by simply logging in with your Google account. Within minutes, you'll unlock a whole new level of email management efficiency. Say goodbye to the days of endless scrolling, missed opportunities, and time wasted on mundane tasks. With Ultra, you can embrace a streamlined email experience that harnesses the capabilities of AI to help you crush your inbox, find what you need, and accomplish more in less time. Don't wait any longer – save time and never miss emails again with Ultra.
Related Reading
• Gmail Spam Filter Not Working
• Free Email Spam Filter For Android
• Email Spam Filter Service
If you're drowning in a sea of emails and struggling to keep your Gmail inbox organized, fear not! In this post, we'll explore the magical world of Gmail filters and show you how to apply multiple labels to your incoming messages. By using clever filters and labels, you can easily sort, prioritize, and find your emails with ease.
Whether you're a busy professional or just someone with a packed inbox, learning how to effectively use Gmail filters and apply multiple labels will revolutionize the way you manage your email. So, let's dive in and discover the secrets to achieving inbox nirvana. Oh, and by the way, if you're also wondering "how do I empty my mailbox?" - we've got you covered!
Table of Contents
Complete Step-by-Step Guide On How To Use Ultra's AI Email Filtering Feature
Take Control of Your Email Inbox With Ultra — Get To Inbox Zero Daily
What Is A Gmail Filter?
Gmail filter is a powerful feature provided by Google that allows users to automatically organize and manage their incoming emails. With this feature, users can create specific criteria or rules for Gmail to apply to incoming emails. These criteria can be based on the sender's email address, the subject line, specific keywords, or other factors.
By setting up filters, users can instruct Gmail to automatically perform certain actions on incoming emails that meet the specified criteria. This can include applying labels, marking emails as important, archiving or deleting them, forwarding them to another email address, or even sending an automated reply.
Gmail filters are particularly useful for managing large volumes of emails and ensuring that important messages are easily accessible. By applying multiple labels to filtered emails, users can further enhance their organization and categorization efforts.
The Power of Gmail Filters: Simplify Your Inbox and Boost Productivity
1. Introduce the concept of Gmail filters and their purpose.
2. Emphasize the benefits of using filters in terms of inbox organization and productivity.
3. Mention the ability to apply multiple labels to filtered emails for enhanced organization.
Related Reading
• Email Filters Gmail
• Spam Filter Iphone Email
• Gmail Date Filter
• Gmail Filter Syntax
• How To Remove Filter In Gmail
• Gmail Apply Filter Retroactively
Simple Guide On Gmail Filter Apply Multiple Labels
Gmail filters are a powerful tool that can help you organize and manage your inbox effectively. By creating filters, you can automatically apply labels to incoming emails based on specific criteria. This allows you to categorize and prioritize your emails, making it easier to find and respond to important messages. In this guide, we will walk you through the process of creating a Gmail filter with multiple labels applied to it.
Step 1: Open Gmail and Access the Settings
To create a filter, start by opening Gmail and accessing the settings. You can do this by clicking on the gear icon in the top right corner of the screen and selecting "Settings" from the drop-down menu.
Step 2: Navigate to the Filters and Blocked Addresses Tab
Once you're in the settings, navigate to the "Filters and Blocked Addresses" tab. You'll find it at the top of the settings page, next to other tabs like "General" and "Accounts and Import."
Step 3: Create a New Filter
Click on the "Create a new filter" link to start creating your filter. This will open a window where you can specify the criteria for your filter.
Step 4: Define the Criteria for Your Filter
In the filter creation window, you can define the criteria for your filter. This includes options like the sender's email address, subject line, keywords, and more. Specify the criteria that you want your filter to apply to, depending on your specific needs.
Step 5: Preview the Filter Results
Once you've defined the criteria for your filter, click on the "Create filter" button to preview the emails that match your criteria. This step allows you to ensure that the filter is correctly configured before applying labels to the matching emails.
Step 6: Apply Labels to the Matching Emails
After previewing the filter results, you can choose to apply labels to the matching emails. To do this, select the "Apply the label" checkbox and choose the desired label from the drop-down menu. You can also create a new label by clicking on the "New label" option.
Step 7: Apply Multiple Labels
To apply multiple labels to the matching emails, you can repeat Step 6 for each label you want to add. Simply select the "Apply the label" checkbox again and choose a different label from the drop-down menu. You can add as many labels as you need to categorize your emails effectively.
Step 8: Save the Filter
Once you've applied the labels to the matching emails, click on the "Create filter" button to save your filter. Gmail will automatically apply the filter to all future incoming emails that meet the specified criteria.
Step 9: Test and Refine the Filter
It's a good practice to test your filter after creating it to ensure that it's working as intended. Send a test email that meets the filter criteria and check if the labels are applied correctly. If necessary, you can go back to the filter settings and make adjustments to refine your filter.
Step 10: Enjoy a More Organized Inbox
Congratulations! You have successfully created a Gmail filter with multiple labels applied to it. From now on, incoming emails that match the filter criteria will be automatically labeled, allowing you to keep your inbox organized and find important messages more efficiently.
Related Reading
• Best Email Spam Filter
• How To Filter Unread Emails In Gmail
• Gmail Filter Move To Folder
• Gmail Filter Wildcard
• Gmail Filter Multiple Email Addresses
• Gmail Filter For Multiple Email Addresses
• Gmail Disable Spam Filter
• Gmail Filter Has The Words
• Gmail Filter Email To Folder
• Gmail Filter Subject Contains Words
• Gmail Filter Older Than
• Gmail Filter Regex
• Gmail Filter Delete After X Days
• Gmail Filter Multiple Senders
• Gmail Filter Calendar Invites
• Reset Gmail Spam Filter
• Gmail Create Filter To Forward Email
• How To Filter Large Emails In Gmail
• Gmail Filter Not From Domain
Complete Step-by-Step Guide On How To Use Ultra's AI Email Filtering Feature
Watch this guide to learn how to use Ultra to empty your mailbox in minutes, today!
Chat with your email inbox like ChatGPT, get a daily to-do list based on your inbox, and much more.
Try Ultra for free today and discover a whole new way to manage your emails with AI. Save time, never miss important emails again, and unleash the full potential of your inbox with Ultra.
Take Control of Your Email Inbox With Ultra — Get To Inbox Zero Daily
Imagine a world without the overwhelming burden of an overflowing inbox. Picture yourself effortlessly navigating through your emails, swiftly identifying important action items, and leaving behind the days of being flooded with spam outreach emails. With Ultra, this is no longer a distant dream. Ultra leverages the power of AI to revolutionize your email experience, allowing you to crush your inbox, find what you need, and accomplish more in less time.
Auto-generate AI Todo's
One of the most significant features of Ultra is its ability to automatically generate AI todo's based on your emails and calendar. No longer will you need to spend precious time sifting through your inbox, manually identifying tasks and action items. Ultra's AI-powered assistant meticulously analyzes your emails and calendar events, extracting relevant information, and transforming them into actionable todo's. This revolutionary feature ensures that important tasks are never missed or forgotten, enabling you to streamline your workflow and achieve maximum productivity.
Chat with Your Inbox
Imagine having a conversation with your inbox, just like you would with a trusted assistant. Ultra offers you the ability to chat with your inbox, utilizing the same natural language processing capabilities found in its acclaimed sibling, ChatGPT. Whether you need to search for specific emails, organize your inbox, or request information, simply engage in a conversation with Ultra and experience the ease and efficiency of interacting with your email like never before. This intuitive and personalized communication with your inbox enhances the overall user experience, providing a seamless and effortless approach to managing your emails.
AI-Shortened Summaries
Long email threads can be overwhelming and time-consuming to navigate. Ultra solves this problem with AI-shortened summaries. These summaries condense the content of lengthy emails into concise and easily scannable snippets. By providing a quick overview of each email, Ultra allows you to skim through them at a glance, identifying crucial information without the need for extensive reading. This feature saves you valuable time while ensuring that you never miss any important details buried within lengthy conversations.
Ready to experience the power of Ultra's free AI email assistant? Try Ultra today by simply logging in with your Google account. Within minutes, you'll unlock a whole new level of email management efficiency. Say goodbye to the days of endless scrolling, missed opportunities, and time wasted on mundane tasks. With Ultra, you can embrace a streamlined email experience that harnesses the capabilities of AI to help you crush your inbox, find what you need, and accomplish more in less time. Don't wait any longer – save time and never miss emails again with Ultra.
Related Reading
• Gmail Spam Filter Not Working
• Free Email Spam Filter For Android
• Email Spam Filter Service
Imagine a world without inboxes.