
Gmail Filters
Simple Guide On Gmail Create Filter To Forward Email
February 15th, 2024
If you're drowning in a sea of emails and struggling to keep up with the influx of messages, it's time to take control of your inbox with Gmail's handy filter feature. Creating a filter to forward specific emails to another address can not only streamline your communication process but also ensure that important messages never slip through the cracks.
In this guide, we will guide you through the simple steps of setting up a filter in Gmail to automatically forward emails, helping you reclaim your sanity and stay on top of your digital correspondence. And if you've ever wondered, "How do I empty my mailbox?" - we've got you covered with expert tips and tricks to declutter your Gmail once and for all. So let's dive in and discover the power of Gmail filters!
Table of Contents
Complete Step-by-Step Guide On How To Use Ultra's AI Email Filtering Feature
Take Control of Your Email Inbox With Ultra — Get To Inbox Zero Daily
What Is A Gmail Filter? The Magic of Filters

In today's fast-paced digital world, email has become an essential communication tool for both personal and professional purposes. However, managing a flooded inbox can be overwhelming and time-consuming. This is where Gmail filters come to the rescue.
By automating email organization and prioritization, filters allow users to regain control over their inbox and focus on what matters most. In this guide, we will delve into the magic of Gmail filters and how they can transform the way you manage your emails.
Understanding Gmail Filters
Gmail filters are a feature offered by Google's email service that enable users to automate the sorting, categorizing, and forwarding of incoming messages based on predefined criteria. These criteria can include email sender, recipient, subject, keywords, attachments, and more.
By setting up filters, users can instruct Gmail to perform specific actions on incoming emails, such as marking them as important, applying labels, archiving, deleting, or even forwarding them to another email address.
Harnessing the Power of Gmail Filters
Gmail filters offer a multitude of benefits, revolutionizing the way users manage and interact with their inbox. Here are some of the advantages of utilizing Gmail filters:
1. Prioritization
By creating filters that automatically apply labels or mark certain emails as important, users can quickly identify and prioritize messages that require immediate attention. This ensures that critical emails are not buried among less significant ones.
2. Organization
Filters allow users to categorize emails into specific folders or labels, streamlining the organization process. This enables easy retrieval of relevant emails, saving time and reducing clutter.
3. Streamlining Workflow
Gmail filters can automatically perform actions such as archiving or deleting certain types of emails, reducing manual effort and enabling a more streamlined workflow. This can be particularly useful for managing newsletters, promotional emails, or social media notifications.
4. Customization
With Gmail filters, users have the flexibility to tailor their inbox management to their unique needs. By creating filters based on specific criteria, users can ensure that their inbox reflects their preferences and priorities.
5. Email Forwarding
One powerful feature of Gmail filters is the ability to automatically forward certain emails to another email address. This can be handy for redirecting specific types of messages to designated individuals or departments, ensuring timely communication and collaboration.
Setting Up Gmail Filters
Setting up Gmail filters is a relatively straightforward process. Here is a general guide to creating a filter:
1. Open Gmail and click on the settings gear icon in the top-right corner.
2. Select "See all settings" from the dropdown menu.
3. Navigate to the "Filters and Blocked Addresses" tab.
4. Click on "Create a new filter" to access the filter creation interface.
5. Specify the criteria for the filter, such as sender, recipient, subject keywords, or other parameters.
6. Choose the desired action for the filtered emails, such as applying a label, marking as important, archiving, or forwarding.
7. Click on "Create filter" to save the filter and apply it to incoming emails.
Related Reading
• Email Filters Gmail
• Spam Filter Iphone Email
• Gmail Date Filter
• Gmail Filter Syntax
• How To Remove Filter In Gmail
• Gmail Apply Filter Retroactively
Simple Guide On Gmail Create Filter To Forward Email

Setting up a Gmail filter to automatically forward specific emails can greatly streamline your workflow and ensure that important messages are promptly directed to the right recipients.
Whether you want to forward emails from a certain sender, with specific keywords, or containing particular attachments, Gmail's filtering system makes it easy to automate this process. In this guide, we'll walk you through the steps to create a Gmail filter that automatically forwards emails.
Step 1: Access Gmail Settings
To get started, log in to your Gmail account and click on the gear icon located in the top-right corner of the page. From the drop-down menu, select "Settings" to access the Gmail settings.
Step 2: Navigate to Filters and Blocked Addresses
In the settings menu, click on the "Filters and Blocked Addresses" tab. Here, you'll find a list of any existing filters you've created and the option to create a new one. Click on the "Create a new filter" link to begin setting up your email forwarding filter.
Step 3: Define Filter Criteria
In the filter creation window, you'll see various fields that allow you to define the criteria for the filter. You can choose to filter emails based on the sender, recipient, subject, keywords, attachments, or other parameters.
For example, if you want to forward all emails from a specific sender, enter the sender's email address in the "From" field. If you want to filter emails with specific keywords, enter those keywords in the "Has the words" field. You can also use the "Has attachment" field to filter emails that contain attachments.
Step 4: Test Filter Criteria
Before proceeding, it's crucial to test the filter criteria to ensure it captures the emails you want to forward. To do this, click on the "Test Search" button at the bottom of the filter creation window. Gmail will display a list of emails that match your filter criteria.
Review the list to confirm that the filter is capturing the desired emails. If the results are not as expected, you may need to adjust the filter criteria accordingly.
Step 5: Set Up Email Forwarding
Once you're satisfied with the filter criteria, it's time to set up the email forwarding action. To do this, click on the "Create filter" button located at the bottom-right of the filter creation window.
In the next window, you'll see a list of actions you can apply to the filtered emails. Check the box next to "Forward it to" and enter the email address you want to forward the emails to in the provided field.
Step 6: Save and Apply the Filter
Finally, click on the "Create filter" button to save and apply the filter. Gmail will display a confirmation message indicating that the filter has been created successfully.
From this point forward, any incoming emails that match your defined filter criteria will be automatically forwarded to the specified email address. You can review, modify, or delete this filter at any time by accessing the "Filters and Blocked Addresses" tab in the Gmail settings.
By utilizing Gmail's powerful filtering system, you can easily create filters that automatically forward emails, helping you stay organized and ensuring that important messages reach the right recipients without delay.
Complete Step-by-Step Guide On How To Use Ultra's AI Email Filtering Feature
Watch this guide to learn how to use Ultra to empty your mailbox in minutes, today!
Chat with your email inbox like ChatGPT, get a daily to-do list based on your inbox, and much more.
Try Ultra for free today and discover a whole new way to manage your emails with AI. Save time, never miss important emails again, and unleash the full potential of your inbox with Ultra.
Related Reading
• Best Email Spam Filter
• How To Filter Unread Emails In Gmail
• Gmail Filter Move To Folder
• Gmail Filter Wildcard
• Gmail Filter Multiple Email Addresses
• Gmail Filter For Multiple Email Addresses
• Gmail Disable Spam Filter
• Gmail Filter Has The Words
• Gmail Filter Email To Folder
• Gmail Filter Subject Contains Words
• Gmail Filter Older Than
• Gmail Filter Regex
• Gmail Filter Delete After X Days
• Gmail Filter Multiple Senders
• Gmail Filter Calendar Invites
• Reset Gmail Spam Filter
• Gmail Filter Apply Multiple Labels
• How To Filter Large Emails In Gmail
• Gmail Filter Not From Domain
Take Control of Your Email Inbox With Ultra — Get To Inbox Zero Daily
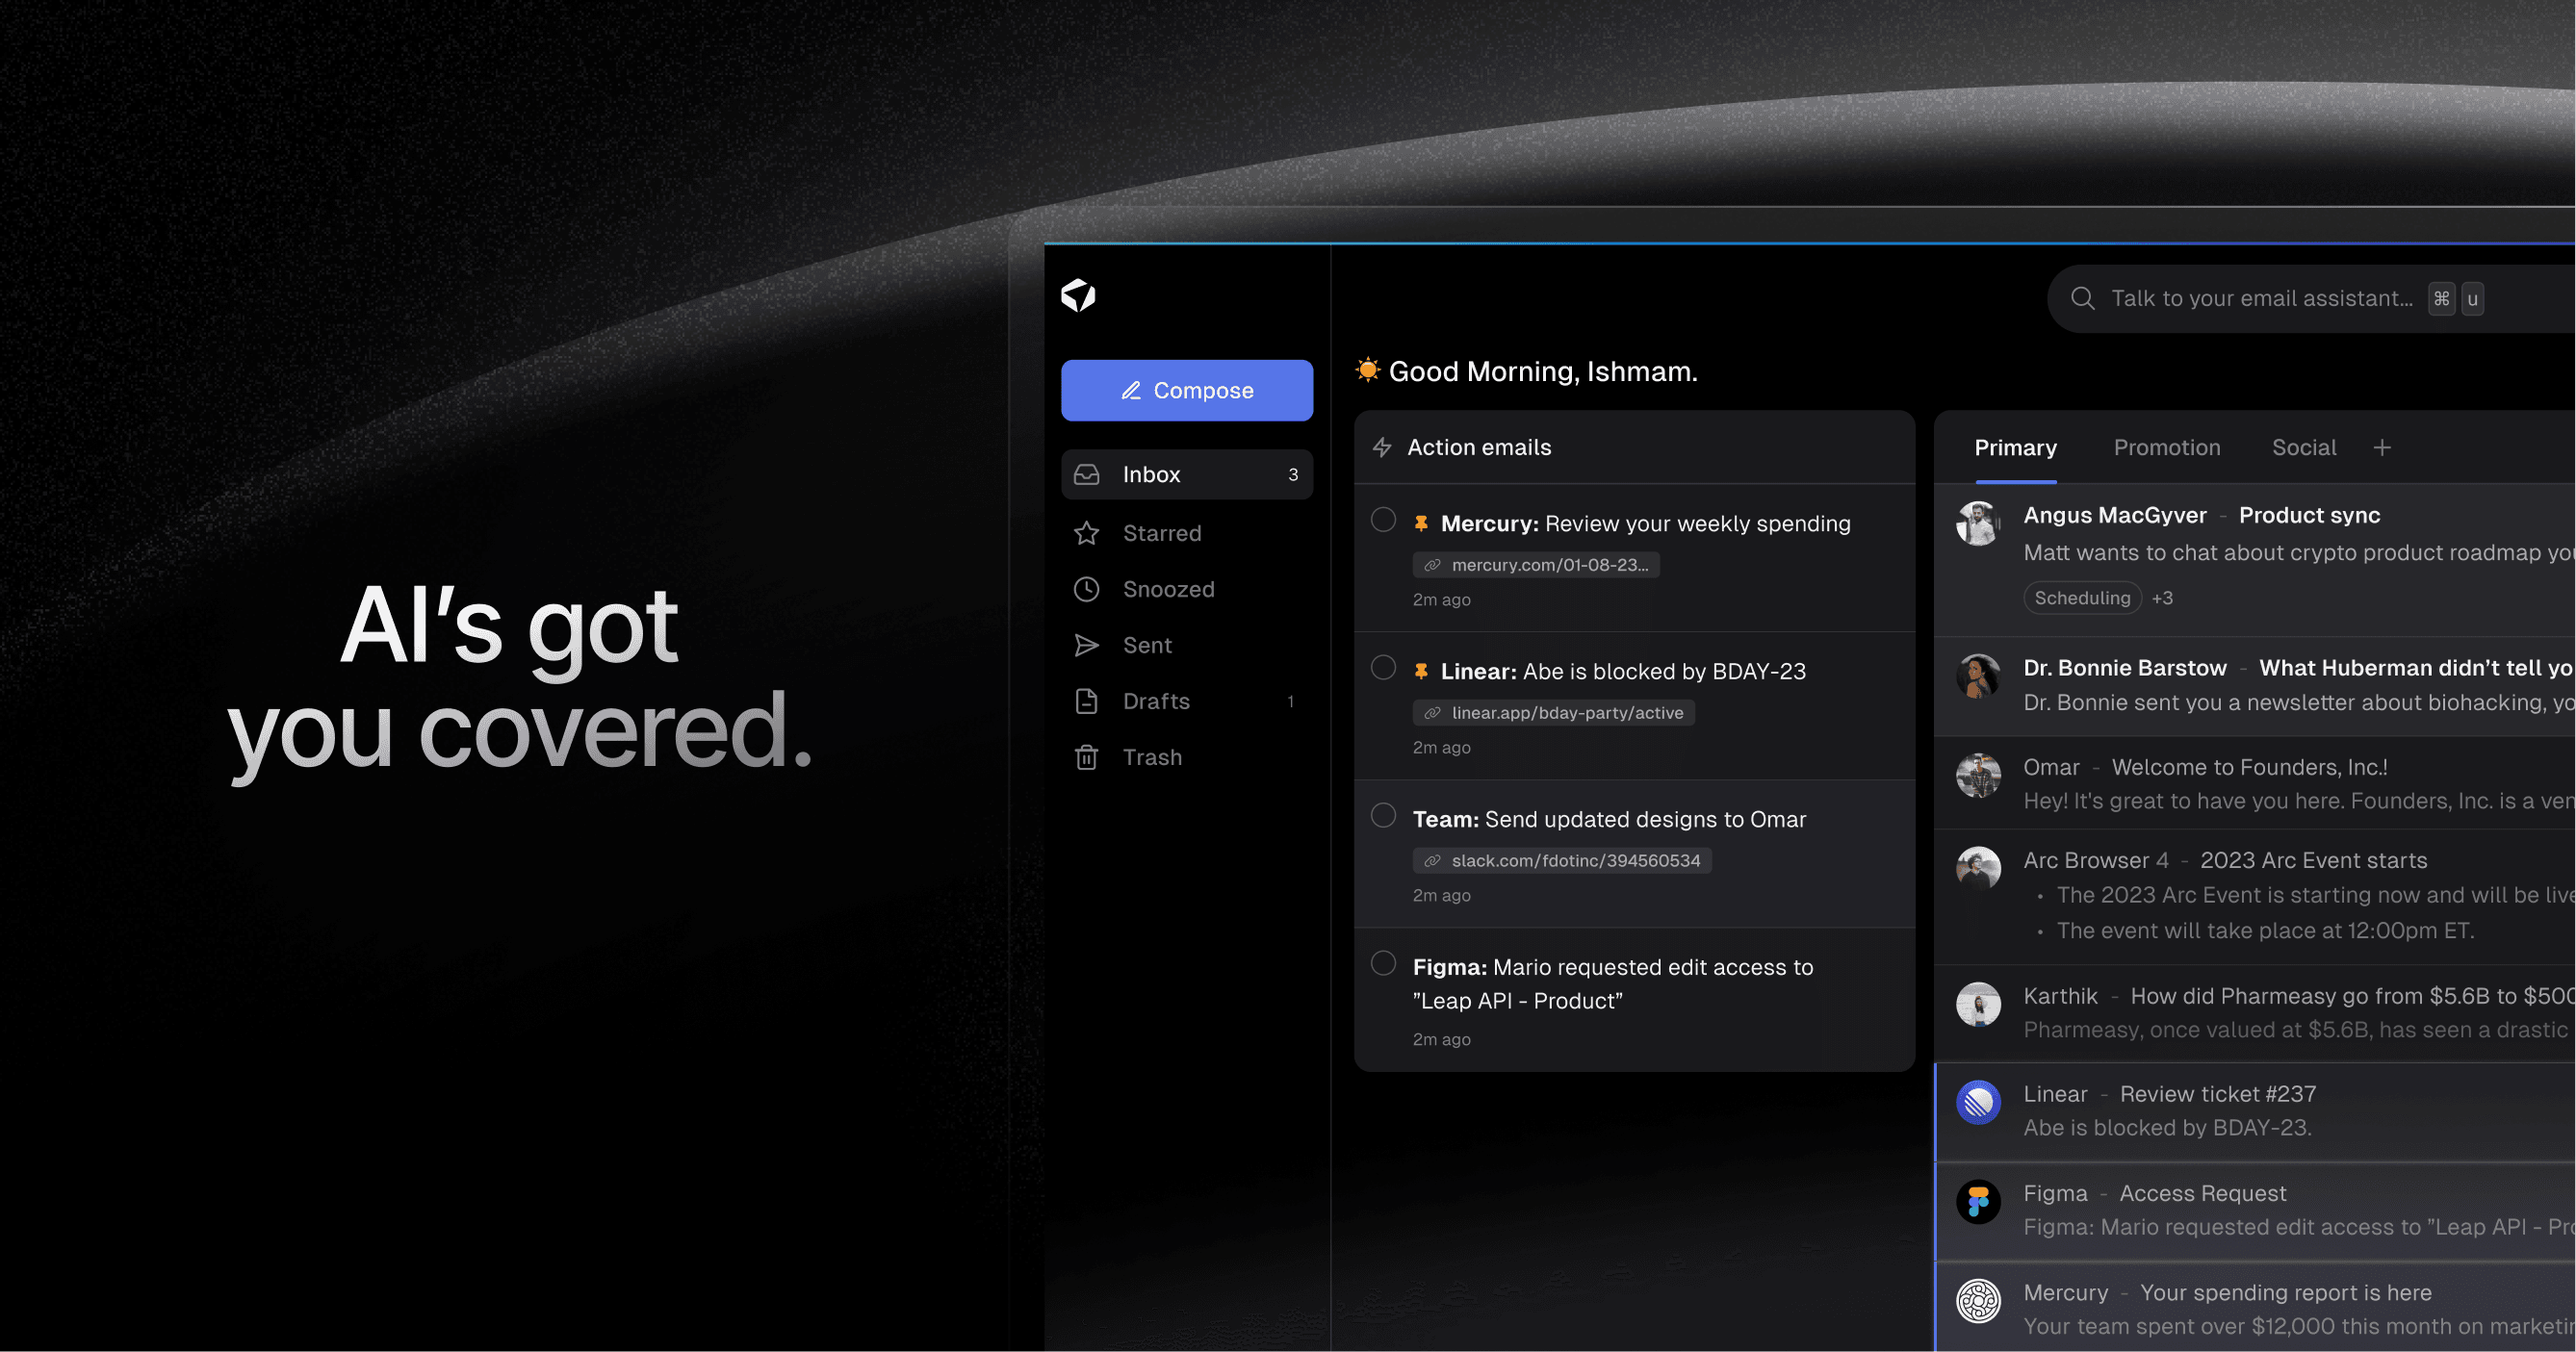
In today's fast-paced world, email has become an integral part of our lives. However, the sheer volume of emails we receive can often be overwhelming, leading to missed action items and important information buried deep in long email threads. On top of that, dealing with spam outreach emails can be a major nuisance. But what if there was a way to revolutionize your email experience?
Introducing Ultra, the AI-powered solution that will transform the way you interact with your inbox. With Ultra, you can say goodbye to the days of spending hours sifting through emails and hello to a more efficient and productive workflow.
Auto Generate AI Todo's for Increased Productivity
With Ultra, you can harness the power of AI to automatically generate to-do items based on the content of your emails and calendar. Imagine having all your action items neatly organized and prioritized, allowing you to stay on top of your tasks without missing a beat. Ultra's AI technology understands the context of your emails, identifies important action items, and creates actionable to-do's for you. This eliminates the need for manual note-taking and ensures that you never forget an important task again.
Chat with Your Inbox Like Never Before
Just like you would chat with a friend or colleague, Ultra allows you to have a conversation with your inbox. With its ChatGPT-like email assistant, you can interact with your emails in a more conversational and natural way. Need to find a specific email? Simply ask Ultra, and it will retrieve it for you. Want to schedule a meeting or reply to an email? Ultra can handle that too. This intuitive and user-friendly interface makes managing your inbox a breeze.
AI-Shortened Summaries for Efficient Skimming
Long email threads can be a time-consuming and tedious task to go through. But with Ultra's AI-shortened summaries, you can quickly skim through the content of your emails at a glance. Ultra's AI technology analyzes the email content and provides you with a concise summary, highlighting the key points and important details. This allows you to get the gist of an email without having to read through the entire thread, saving you valuable time and energy.
Try Ultra's Free AI Email Assistant Today!
Ready to take your email game to the next level? Try Ultra's free AI email assistant today. Simply log in with your Google account, and within minutes, you'll be set to experience the power of AI in your inbox. Say goodbye to missed emails and hello to increased productivity. Let Ultra do the heavy lifting for you, so you can focus on what truly matters.
Save time, stay organized, and never miss an email again with Ultra.
Related Reading
• Gmail Spam Filter Not Working
• Free Email Spam Filter For Android
• Email Spam Filter Service
If you're drowning in a sea of emails and struggling to keep up with the influx of messages, it's time to take control of your inbox with Gmail's handy filter feature. Creating a filter to forward specific emails to another address can not only streamline your communication process but also ensure that important messages never slip through the cracks.
In this guide, we will guide you through the simple steps of setting up a filter in Gmail to automatically forward emails, helping you reclaim your sanity and stay on top of your digital correspondence. And if you've ever wondered, "How do I empty my mailbox?" - we've got you covered with expert tips and tricks to declutter your Gmail once and for all. So let's dive in and discover the power of Gmail filters!
Table of Contents
Complete Step-by-Step Guide On How To Use Ultra's AI Email Filtering Feature
Take Control of Your Email Inbox With Ultra — Get To Inbox Zero Daily
What Is A Gmail Filter? The Magic of Filters
In today's fast-paced digital world, email has become an essential communication tool for both personal and professional purposes. However, managing a flooded inbox can be overwhelming and time-consuming. This is where Gmail filters come to the rescue.
By automating email organization and prioritization, filters allow users to regain control over their inbox and focus on what matters most. In this guide, we will delve into the magic of Gmail filters and how they can transform the way you manage your emails.
Understanding Gmail Filters
Gmail filters are a feature offered by Google's email service that enable users to automate the sorting, categorizing, and forwarding of incoming messages based on predefined criteria. These criteria can include email sender, recipient, subject, keywords, attachments, and more.
By setting up filters, users can instruct Gmail to perform specific actions on incoming emails, such as marking them as important, applying labels, archiving, deleting, or even forwarding them to another email address.
Harnessing the Power of Gmail Filters
Gmail filters offer a multitude of benefits, revolutionizing the way users manage and interact with their inbox. Here are some of the advantages of utilizing Gmail filters:
1. Prioritization
By creating filters that automatically apply labels or mark certain emails as important, users can quickly identify and prioritize messages that require immediate attention. This ensures that critical emails are not buried among less significant ones.
2. Organization
Filters allow users to categorize emails into specific folders or labels, streamlining the organization process. This enables easy retrieval of relevant emails, saving time and reducing clutter.
3. Streamlining Workflow
Gmail filters can automatically perform actions such as archiving or deleting certain types of emails, reducing manual effort and enabling a more streamlined workflow. This can be particularly useful for managing newsletters, promotional emails, or social media notifications.
4. Customization
With Gmail filters, users have the flexibility to tailor their inbox management to their unique needs. By creating filters based on specific criteria, users can ensure that their inbox reflects their preferences and priorities.
5. Email Forwarding
One powerful feature of Gmail filters is the ability to automatically forward certain emails to another email address. This can be handy for redirecting specific types of messages to designated individuals or departments, ensuring timely communication and collaboration.
Setting Up Gmail Filters
Setting up Gmail filters is a relatively straightforward process. Here is a general guide to creating a filter:
1. Open Gmail and click on the settings gear icon in the top-right corner.
2. Select "See all settings" from the dropdown menu.
3. Navigate to the "Filters and Blocked Addresses" tab.
4. Click on "Create a new filter" to access the filter creation interface.
5. Specify the criteria for the filter, such as sender, recipient, subject keywords, or other parameters.
6. Choose the desired action for the filtered emails, such as applying a label, marking as important, archiving, or forwarding.
7. Click on "Create filter" to save the filter and apply it to incoming emails.
Related Reading
• Email Filters Gmail
• Spam Filter Iphone Email
• Gmail Date Filter
• Gmail Filter Syntax
• How To Remove Filter In Gmail
• Gmail Apply Filter Retroactively
Simple Guide On Gmail Create Filter To Forward Email
Setting up a Gmail filter to automatically forward specific emails can greatly streamline your workflow and ensure that important messages are promptly directed to the right recipients.
Whether you want to forward emails from a certain sender, with specific keywords, or containing particular attachments, Gmail's filtering system makes it easy to automate this process. In this guide, we'll walk you through the steps to create a Gmail filter that automatically forwards emails.
Step 1: Access Gmail Settings
To get started, log in to your Gmail account and click on the gear icon located in the top-right corner of the page. From the drop-down menu, select "Settings" to access the Gmail settings.
Step 2: Navigate to Filters and Blocked Addresses
In the settings menu, click on the "Filters and Blocked Addresses" tab. Here, you'll find a list of any existing filters you've created and the option to create a new one. Click on the "Create a new filter" link to begin setting up your email forwarding filter.
Step 3: Define Filter Criteria
In the filter creation window, you'll see various fields that allow you to define the criteria for the filter. You can choose to filter emails based on the sender, recipient, subject, keywords, attachments, or other parameters.
For example, if you want to forward all emails from a specific sender, enter the sender's email address in the "From" field. If you want to filter emails with specific keywords, enter those keywords in the "Has the words" field. You can also use the "Has attachment" field to filter emails that contain attachments.
Step 4: Test Filter Criteria
Before proceeding, it's crucial to test the filter criteria to ensure it captures the emails you want to forward. To do this, click on the "Test Search" button at the bottom of the filter creation window. Gmail will display a list of emails that match your filter criteria.
Review the list to confirm that the filter is capturing the desired emails. If the results are not as expected, you may need to adjust the filter criteria accordingly.
Step 5: Set Up Email Forwarding
Once you're satisfied with the filter criteria, it's time to set up the email forwarding action. To do this, click on the "Create filter" button located at the bottom-right of the filter creation window.
In the next window, you'll see a list of actions you can apply to the filtered emails. Check the box next to "Forward it to" and enter the email address you want to forward the emails to in the provided field.
Step 6: Save and Apply the Filter
Finally, click on the "Create filter" button to save and apply the filter. Gmail will display a confirmation message indicating that the filter has been created successfully.
From this point forward, any incoming emails that match your defined filter criteria will be automatically forwarded to the specified email address. You can review, modify, or delete this filter at any time by accessing the "Filters and Blocked Addresses" tab in the Gmail settings.
By utilizing Gmail's powerful filtering system, you can easily create filters that automatically forward emails, helping you stay organized and ensuring that important messages reach the right recipients without delay.
Complete Step-by-Step Guide On How To Use Ultra's AI Email Filtering Feature
Watch this guide to learn how to use Ultra to empty your mailbox in minutes, today!
Chat with your email inbox like ChatGPT, get a daily to-do list based on your inbox, and much more.
Try Ultra for free today and discover a whole new way to manage your emails with AI. Save time, never miss important emails again, and unleash the full potential of your inbox with Ultra.
Related Reading
• Best Email Spam Filter
• How To Filter Unread Emails In Gmail
• Gmail Filter Move To Folder
• Gmail Filter Wildcard
• Gmail Filter Multiple Email Addresses
• Gmail Filter For Multiple Email Addresses
• Gmail Disable Spam Filter
• Gmail Filter Has The Words
• Gmail Filter Email To Folder
• Gmail Filter Subject Contains Words
• Gmail Filter Older Than
• Gmail Filter Regex
• Gmail Filter Delete After X Days
• Gmail Filter Multiple Senders
• Gmail Filter Calendar Invites
• Reset Gmail Spam Filter
• Gmail Filter Apply Multiple Labels
• How To Filter Large Emails In Gmail
• Gmail Filter Not From Domain
Take Control of Your Email Inbox With Ultra — Get To Inbox Zero Daily
In today's fast-paced world, email has become an integral part of our lives. However, the sheer volume of emails we receive can often be overwhelming, leading to missed action items and important information buried deep in long email threads. On top of that, dealing with spam outreach emails can be a major nuisance. But what if there was a way to revolutionize your email experience?
Introducing Ultra, the AI-powered solution that will transform the way you interact with your inbox. With Ultra, you can say goodbye to the days of spending hours sifting through emails and hello to a more efficient and productive workflow.
Auto Generate AI Todo's for Increased Productivity
With Ultra, you can harness the power of AI to automatically generate to-do items based on the content of your emails and calendar. Imagine having all your action items neatly organized and prioritized, allowing you to stay on top of your tasks without missing a beat. Ultra's AI technology understands the context of your emails, identifies important action items, and creates actionable to-do's for you. This eliminates the need for manual note-taking and ensures that you never forget an important task again.
Chat with Your Inbox Like Never Before
Just like you would chat with a friend or colleague, Ultra allows you to have a conversation with your inbox. With its ChatGPT-like email assistant, you can interact with your emails in a more conversational and natural way. Need to find a specific email? Simply ask Ultra, and it will retrieve it for you. Want to schedule a meeting or reply to an email? Ultra can handle that too. This intuitive and user-friendly interface makes managing your inbox a breeze.
AI-Shortened Summaries for Efficient Skimming
Long email threads can be a time-consuming and tedious task to go through. But with Ultra's AI-shortened summaries, you can quickly skim through the content of your emails at a glance. Ultra's AI technology analyzes the email content and provides you with a concise summary, highlighting the key points and important details. This allows you to get the gist of an email without having to read through the entire thread, saving you valuable time and energy.
Try Ultra's Free AI Email Assistant Today!
Ready to take your email game to the next level? Try Ultra's free AI email assistant today. Simply log in with your Google account, and within minutes, you'll be set to experience the power of AI in your inbox. Say goodbye to missed emails and hello to increased productivity. Let Ultra do the heavy lifting for you, so you can focus on what truly matters.
Save time, stay organized, and never miss an email again with Ultra.
Related Reading
• Gmail Spam Filter Not Working
• Free Email Spam Filter For Android
• Email Spam Filter Service
Imagine a world without inboxes.