
Gmail Filters
How To Get Gmail To Apply Filter Retroactively & AI Email Filtering Tool
February 5th, 2024
Do you ever find yourself drowning in a sea of unread emails? It's a struggle we can all relate to. But what if I told you there was a way to effortlessly organize your inbox and reclaim your sanity? Discover Gmail's retroactive filter application feature. With this handy tool, you can now apply filters to your existing emails, categorizing them and making it easier than ever to find what you're looking for.
No more endless scrolling or panicking over missed messages. And if you're wondering, "how do I empty my mailbox?" - we've got you covered. Read on to discover the step-by-step guide to reclaiming your inbox and becoming the master of your Gmail kingdom.
Table of Contents
Complete Step-by-Step Guide On How To Use Ultra's AI Email Filtering Feature
Take Control of Your Email Inbox With Ultra — Get To Inbox Zero Daily
How To Get Gmail To Apply Filter Retroactively

Managing a high volume of emails can be a daunting task, especially for founders, salespeople, and individuals who receive a lot of inbound emails. Gmail's filter feature allows users to automatically organize their emails, but what if you want to apply filters retroactively? In this section, we will explore how to accomplish this effectively.
1. Understanding Gmail Filters
Before diving into retroactive filtering, it is crucial to understand how Gmail filters work. Filters in Gmail allow you to automatically categorize, label, archive, or delete incoming emails based on specific criteria. These criteria can include the sender, subject line, keywords, and more. By setting up filters, you can streamline your inbox and prioritize important emails.
2. Identifying Retroactive Filter Needs
To begin the process of applying filters retroactively, you need to identify the specific needs and criteria for your filter. Ask yourself questions such as:
What types of emails do you want to filter?
Are there common senders or subject lines that you want to target?
Are there specific keywords or phrases that would help identify relevant emails?
Do you want to apply filters to existing emails in your inbox or only to incoming emails going forward?
By answering these questions, you can create a clear plan for setting up your retroactive filters.
3. Creating a New Filter
To create a new filter in Gmail, follow these steps:
Open Gmail and click on the gear icon in the top-right corner.
Select "Settings" from the drop-down menu.
Go to the "Filters and Blocked Addresses" tab.
Click on the "Create a new filter" option.
4. Setting Filter Criteria
In the filter creation window, you will find various criteria options to help you define your filter. These criteria can include the sender, recipient, subject line, keywords, attachments, and more. Choose the criteria that best fit your retroactive filtering needs.
5. Applying Retroactive Filtering
Now comes the crucial step of applying the filter retroactively. To do this, follow these steps:
After setting the filter criteria, click on the "Create filter" button at the bottom.
Check the box next to "Also apply filter to matching conversations."
Click on the "Create filter" button again to save the filter.
By selecting the option to apply the filter to matching conversations, Gmail will automatically scan your inbox for existing emails that meet the filter criteria and apply the filter to them.
6. Testing and Refining
Once you have created a retroactive filter, it is essential to test its effectiveness and make any necessary refinements. Monitor your inbox regularly to ensure that the filter is correctly categorizing emails and not mistakenly filtering important messages. Adjust the filter criteria as needed to achieve optimal results.
7. Additional Tips and Considerations
Regularly review and update your filters to adapt to changing needs.
Avoid creating too many filters that may complicate your email management system.
Use labels or categories to visually organize filtered emails for easy reference.
Take advantage of Gmail's advanced search operators to create more complex filters.
Be cautious when using the "Delete it" action in filters to prevent accidental deletion of important emails.
By following these steps, you can effectively set up retroactive filters in Gmail to streamline your inbox and enhance your email management. Remember to regularly review and refine your filters to ensure they align with your evolving needs. With an organized inbox, you can focus on what matters most and improve your productivity.
Related Reading
• Email Filters Gmail
• Spam Filter Iphone Email
• Gmail Date Filter
• Gmail Filter Syntax
• How To Remove Filter In Gmail
14 Best Gmail Filters for Founders

1. Filter for Important Emails
Create a filter that checks for emails from specific contacts or with specific keywords in the subject line. For example, filter emails from investors or co-founders so that they are automatically labeled as important and marked as unread.
2. Filter for Newsletters and Subscriptions
Set up a filter to manage newsletters and subscription emails. You can create a label specifically for these emails and have them skip the inbox and go directly to that label. This way, your inbox stays clutter-free.
3. Filter for Spam
Create a filter to automatically send emails from known spam senders to the spam folder. You can identify these by the sender's email address or specific keywords commonly used in spam emails. This filter helps keep your inbox clean.
4. Filter for Follow-ups
Set up a filter to mark emails that require follow-up. For example, filter emails with the word "follow-up" or "action required" in the subject line and apply a specific label to them. This helps you stay on top of important tasks and ensure nothing slips through the cracks.
5. Filter for Team Communication
Create a filter to group emails from your team members. This can be done by filtering emails from specific email addresses or by using keywords related to your team name. Applying a label to these emails makes it easier to find important team updates and discussions.
6. Filter for Customer Support
Set up a filter to manage customer support emails. For example, filter emails from customers or with certain keywords related to support inquiries. Apply a label to these emails and ensure they are easily accessible when you need to address customer concerns.
7. Filter for Receipts and Invoices
Create a filter to automatically label emails containing receipts or invoices. This can be done by filtering emails from specific senders or by using keywords such as "receipt" or "invoice" in the subject line. This filter helps you keep track of financial transactions.
8. Filter for Social Notifications
Set up a filter to manage social media notifications. For example, filter emails from Facebook, Twitter, or LinkedIn into a separate label. This way, you can easily review and respond to social media updates without them cluttering your inbox.
9. Filter for Event Invitations
Create a filter to manage event invitations. For example, filter emails containing the word "event" or from specific event organizers. Apply a label to these emails so you can easily keep track of upcoming events and RSVPs.
10. Filter for News Alerts
Set up a filter to manage news alerts and updates. Filter emails from specific news sources or with keywords related to your industry. Apply a label to these emails to keep them organized and ensure you stay informed.
11. Filter for Personal Emails
Create a filter to separate personal emails from work-related ones. Filter emails from friends and family, or those containing specific personal keywords. This filter helps you maintain a healthy work-life balance and prioritize your personal correspondence.
12. Filter for Collaborative Projects
Set up a filter to manage emails related to collaborative projects. Filter emails from specific project partners or with keywords related to the project name or topic. Applying a label to these emails ensures easy access to project-related discussions and updates.
13. Filter for Mentoring Requests
Create a filter to manage mentoring requests. Filter emails from aspiring entrepreneurs or with specific keywords related to mentorship. This filter helps you prioritize and respond to mentoring opportunities more efficiently.
14. Filter for Newsletters and Blogs
Set up a filter to manage newsletters and blog updates that you regularly read. Filter emails from specific senders or contain keywords related to your favorite newsletters and blogs. This way, you can find these emails easily and enjoy curated content without cluttering your inbox.
Free AI Email Assistant: Ultra
Everyone is tired of missing important action items and info in long email threads, and getting their emails flooded with spam outreach emails. Imagine a world without inboxes. Email has never been better. Leverage AI to crush your inbox, find what you need, and do more faster.
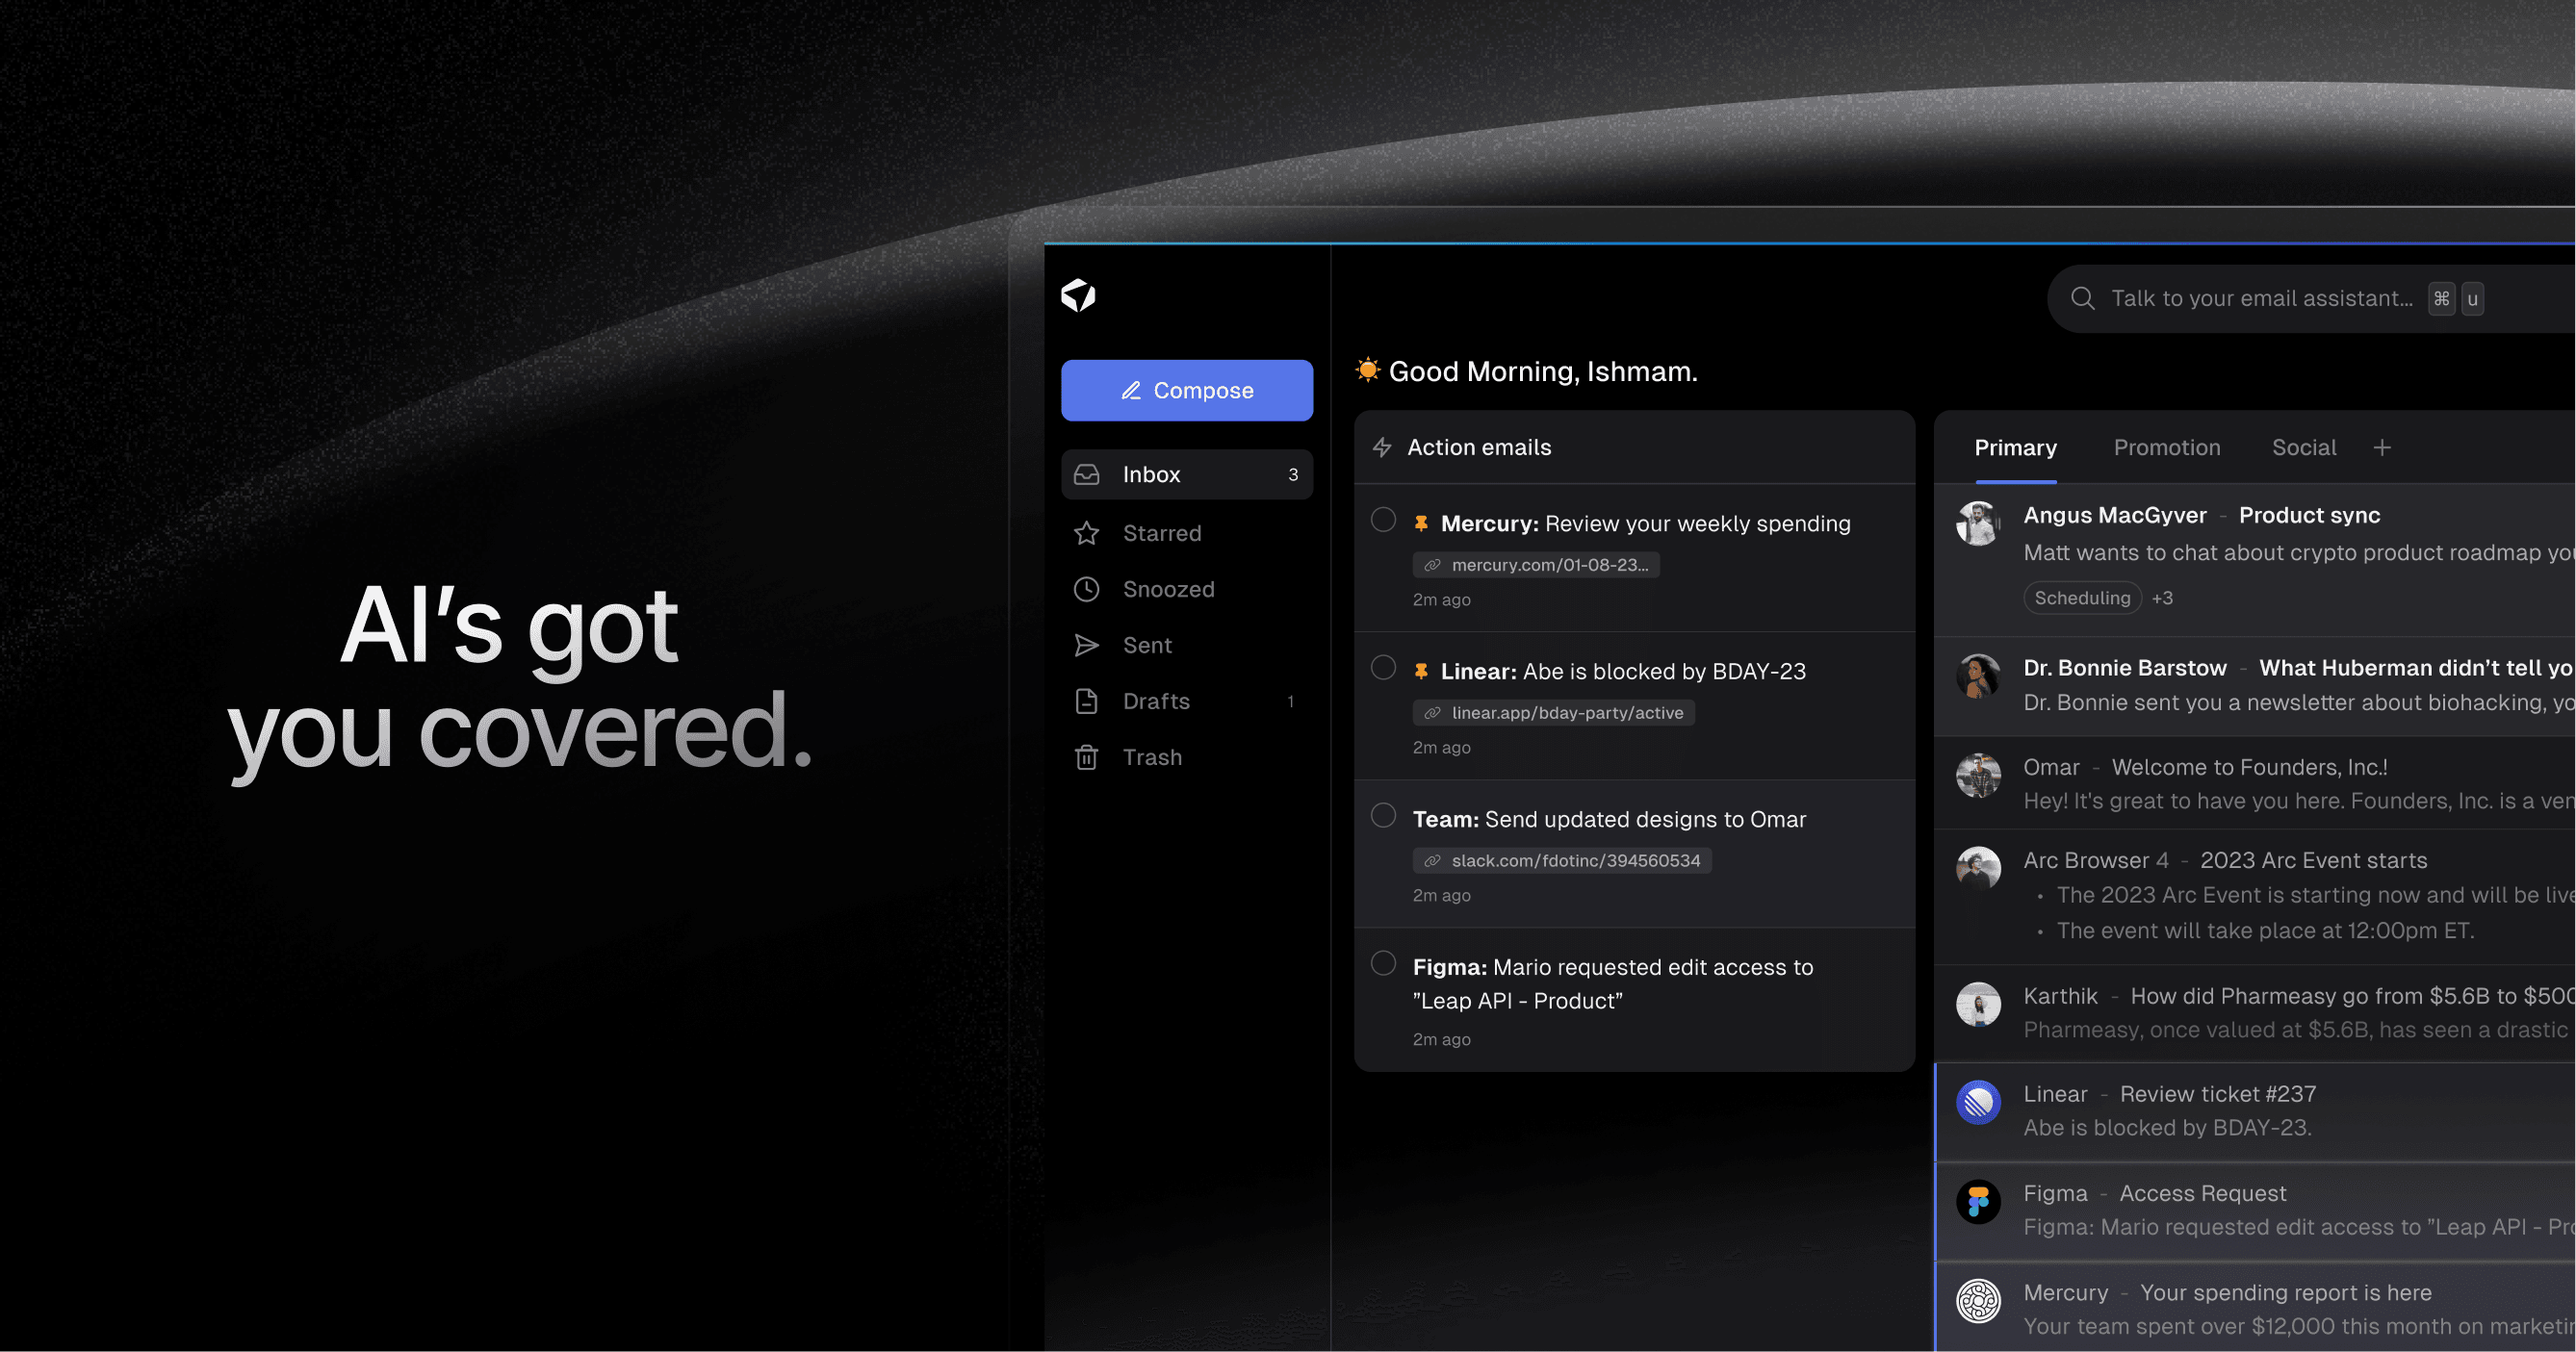
What if an AI took care of your inbox? With Ultra, you can get through your emails in minutes with AI. With Ultra, you can Auto generate AI todo's based on your emails and calendar, You can chat with your inbox like it's ChatGPT (email assistant), and you get AI-shortened summaries so you can skim through it at a glance. Try Ultra’s free AI email assistant today — just login with Google and you’ll be set to go within minutes. Save time and never miss emails again with Ultra.
Related Reading
• Best Email Spam Filter
• How To Filter Unread Emails In Gmail
• Gmail Filter Move To Folder
• Gmail Filter Wildcard
• Gmail Filter Multiple Email Addresses
• Gmail Filter For Multiple Email Addresses
• Gmail Disable Spam Filter
• Gmail Filter Has The Words
• Gmail Filter Email To Folder
• Gmail Filter Subject Contains Words
• Gmail Filter Older Than
• Gmail Filter Regex
• Gmail Filter Delete After X Days
• Gmail Filter Multiple Senders
• Gmail Filter Calendar Invites
• Reset Gmail Spam Filter
• Gmail Create Filter To Forward Email
• Gmail Filter Apply Multiple Labels
• How To Filter Large Emails In Gmail
• Gmail Filter Not From Domain
Complete Step-by-Step Guide On How To Use Ultra's AI Email Filtering Feature
Watch this guide to learn how to use Ultra to empty your mailbox in minutes, today!
Chat with your email inbox like ChatGPT, get a daily to-do list based on your inbox, and much more.
Try Ultra for free today and discover a whole new way to manage your emails with AI. Save time, never miss important emails again, and unleash the full potential of your inbox with Ultra.
Take Control of Your Email Inbox With Ultra — Get To Inbox Zero Daily
Our inboxes have become a battleground for information overload and spam outreach emails. It's easy to feel overwhelmed and frustrated, constantly sifting through long email threads, desperately searching for important action items and crucial information. But what if there was a way to make email management a breeze? Ultra, the AI-powered Gmail assistant that will revolutionize the way you handle your inbox.
Crush Your Inbox with Ultra's AI Todo Generation
One of the biggest challenges of managing emails is keeping track of tasks and action items buried within countless messages. Ultra takes the stress out of this process by automatically generating AI todos based on your emails and calendar. With a simple click, Ultra analyzes your messages and extracts the necessary information, transforming them into actionable tasks. No more missing deadlines or forgetting important follow-ups – Ultra has your back.
Chat with Your Inbox Using Ultra's Email Assistant
Have you ever wished you could converse with your inbox, just like you chat with a friend? Ultra brings this dream to life by integrating an email assistant feature inspired by ChatGPT. You can now communicate with your inbox as if you were having a conversation. Simply ask questions, request specific information, or give instructions, and Ultra will understand and respond promptly. This seamless interaction allows you to find what you need faster and more efficiently.
Skim and Absorb with Ultra's AI-Shortened Summaries
Let's face it – not every email requires your undivided attention. In fact, most messages can be skimmed through quickly to catch the essential points. Ultra's AI-shortened summaries make this process a breeze. By utilizing artificial intelligence, Ultra condenses the content of long emails into concise summaries, allowing you to grasp the key details at a glance. Say goodbye to wasting time on unnecessary reading and hello to increased productivity.
Try Ultra's Free AI Email Assistant Today!
Ready to take control of your inbox and reclaim your time? Give Ultra a try today and experience the power of AI in revolutionizing your email management. Logging in with your Google account is all it takes to get started within minutes. With Ultra, you can breeze through your emails, effortlessly generate AI todos, chat with your inbox, and skim through AI-shortened summaries. Say goodbye to missed emails and hello to increased productivity. Try Ultra now and see the difference for yourself.
Related Reading
• Gmail Spam Filter Not Working
• Free Email Spam Filter For Android
• Email Spam Filter Service
Do you ever find yourself drowning in a sea of unread emails? It's a struggle we can all relate to. But what if I told you there was a way to effortlessly organize your inbox and reclaim your sanity? Discover Gmail's retroactive filter application feature. With this handy tool, you can now apply filters to your existing emails, categorizing them and making it easier than ever to find what you're looking for.
No more endless scrolling or panicking over missed messages. And if you're wondering, "how do I empty my mailbox?" - we've got you covered. Read on to discover the step-by-step guide to reclaiming your inbox and becoming the master of your Gmail kingdom.
Table of Contents
Complete Step-by-Step Guide On How To Use Ultra's AI Email Filtering Feature
Take Control of Your Email Inbox With Ultra — Get To Inbox Zero Daily
How To Get Gmail To Apply Filter Retroactively
Managing a high volume of emails can be a daunting task, especially for founders, salespeople, and individuals who receive a lot of inbound emails. Gmail's filter feature allows users to automatically organize their emails, but what if you want to apply filters retroactively? In this section, we will explore how to accomplish this effectively.
1. Understanding Gmail Filters
Before diving into retroactive filtering, it is crucial to understand how Gmail filters work. Filters in Gmail allow you to automatically categorize, label, archive, or delete incoming emails based on specific criteria. These criteria can include the sender, subject line, keywords, and more. By setting up filters, you can streamline your inbox and prioritize important emails.
2. Identifying Retroactive Filter Needs
To begin the process of applying filters retroactively, you need to identify the specific needs and criteria for your filter. Ask yourself questions such as:
What types of emails do you want to filter?
Are there common senders or subject lines that you want to target?
Are there specific keywords or phrases that would help identify relevant emails?
Do you want to apply filters to existing emails in your inbox or only to incoming emails going forward?
By answering these questions, you can create a clear plan for setting up your retroactive filters.
3. Creating a New Filter
To create a new filter in Gmail, follow these steps:
Open Gmail and click on the gear icon in the top-right corner.
Select "Settings" from the drop-down menu.
Go to the "Filters and Blocked Addresses" tab.
Click on the "Create a new filter" option.
4. Setting Filter Criteria
In the filter creation window, you will find various criteria options to help you define your filter. These criteria can include the sender, recipient, subject line, keywords, attachments, and more. Choose the criteria that best fit your retroactive filtering needs.
5. Applying Retroactive Filtering
Now comes the crucial step of applying the filter retroactively. To do this, follow these steps:
After setting the filter criteria, click on the "Create filter" button at the bottom.
Check the box next to "Also apply filter to matching conversations."
Click on the "Create filter" button again to save the filter.
By selecting the option to apply the filter to matching conversations, Gmail will automatically scan your inbox for existing emails that meet the filter criteria and apply the filter to them.
6. Testing and Refining
Once you have created a retroactive filter, it is essential to test its effectiveness and make any necessary refinements. Monitor your inbox regularly to ensure that the filter is correctly categorizing emails and not mistakenly filtering important messages. Adjust the filter criteria as needed to achieve optimal results.
7. Additional Tips and Considerations
Regularly review and update your filters to adapt to changing needs.
Avoid creating too many filters that may complicate your email management system.
Use labels or categories to visually organize filtered emails for easy reference.
Take advantage of Gmail's advanced search operators to create more complex filters.
Be cautious when using the "Delete it" action in filters to prevent accidental deletion of important emails.
By following these steps, you can effectively set up retroactive filters in Gmail to streamline your inbox and enhance your email management. Remember to regularly review and refine your filters to ensure they align with your evolving needs. With an organized inbox, you can focus on what matters most and improve your productivity.
Related Reading
• Email Filters Gmail
• Spam Filter Iphone Email
• Gmail Date Filter
• Gmail Filter Syntax
• How To Remove Filter In Gmail
14 Best Gmail Filters for Founders
1. Filter for Important Emails
Create a filter that checks for emails from specific contacts or with specific keywords in the subject line. For example, filter emails from investors or co-founders so that they are automatically labeled as important and marked as unread.
2. Filter for Newsletters and Subscriptions
Set up a filter to manage newsletters and subscription emails. You can create a label specifically for these emails and have them skip the inbox and go directly to that label. This way, your inbox stays clutter-free.
3. Filter for Spam
Create a filter to automatically send emails from known spam senders to the spam folder. You can identify these by the sender's email address or specific keywords commonly used in spam emails. This filter helps keep your inbox clean.
4. Filter for Follow-ups
Set up a filter to mark emails that require follow-up. For example, filter emails with the word "follow-up" or "action required" in the subject line and apply a specific label to them. This helps you stay on top of important tasks and ensure nothing slips through the cracks.
5. Filter for Team Communication
Create a filter to group emails from your team members. This can be done by filtering emails from specific email addresses or by using keywords related to your team name. Applying a label to these emails makes it easier to find important team updates and discussions.
6. Filter for Customer Support
Set up a filter to manage customer support emails. For example, filter emails from customers or with certain keywords related to support inquiries. Apply a label to these emails and ensure they are easily accessible when you need to address customer concerns.
7. Filter for Receipts and Invoices
Create a filter to automatically label emails containing receipts or invoices. This can be done by filtering emails from specific senders or by using keywords such as "receipt" or "invoice" in the subject line. This filter helps you keep track of financial transactions.
8. Filter for Social Notifications
Set up a filter to manage social media notifications. For example, filter emails from Facebook, Twitter, or LinkedIn into a separate label. This way, you can easily review and respond to social media updates without them cluttering your inbox.
9. Filter for Event Invitations
Create a filter to manage event invitations. For example, filter emails containing the word "event" or from specific event organizers. Apply a label to these emails so you can easily keep track of upcoming events and RSVPs.
10. Filter for News Alerts
Set up a filter to manage news alerts and updates. Filter emails from specific news sources or with keywords related to your industry. Apply a label to these emails to keep them organized and ensure you stay informed.
11. Filter for Personal Emails
Create a filter to separate personal emails from work-related ones. Filter emails from friends and family, or those containing specific personal keywords. This filter helps you maintain a healthy work-life balance and prioritize your personal correspondence.
12. Filter for Collaborative Projects
Set up a filter to manage emails related to collaborative projects. Filter emails from specific project partners or with keywords related to the project name or topic. Applying a label to these emails ensures easy access to project-related discussions and updates.
13. Filter for Mentoring Requests
Create a filter to manage mentoring requests. Filter emails from aspiring entrepreneurs or with specific keywords related to mentorship. This filter helps you prioritize and respond to mentoring opportunities more efficiently.
14. Filter for Newsletters and Blogs
Set up a filter to manage newsletters and blog updates that you regularly read. Filter emails from specific senders or contain keywords related to your favorite newsletters and blogs. This way, you can find these emails easily and enjoy curated content without cluttering your inbox.
Free AI Email Assistant: Ultra
Everyone is tired of missing important action items and info in long email threads, and getting their emails flooded with spam outreach emails. Imagine a world without inboxes. Email has never been better. Leverage AI to crush your inbox, find what you need, and do more faster.
What if an AI took care of your inbox? With Ultra, you can get through your emails in minutes with AI. With Ultra, you can Auto generate AI todo's based on your emails and calendar, You can chat with your inbox like it's ChatGPT (email assistant), and you get AI-shortened summaries so you can skim through it at a glance. Try Ultra’s free AI email assistant today — just login with Google and you’ll be set to go within minutes. Save time and never miss emails again with Ultra.
Related Reading
• Best Email Spam Filter
• How To Filter Unread Emails In Gmail
• Gmail Filter Move To Folder
• Gmail Filter Wildcard
• Gmail Filter Multiple Email Addresses
• Gmail Filter For Multiple Email Addresses
• Gmail Disable Spam Filter
• Gmail Filter Has The Words
• Gmail Filter Email To Folder
• Gmail Filter Subject Contains Words
• Gmail Filter Older Than
• Gmail Filter Regex
• Gmail Filter Delete After X Days
• Gmail Filter Multiple Senders
• Gmail Filter Calendar Invites
• Reset Gmail Spam Filter
• Gmail Create Filter To Forward Email
• Gmail Filter Apply Multiple Labels
• How To Filter Large Emails In Gmail
• Gmail Filter Not From Domain
Complete Step-by-Step Guide On How To Use Ultra's AI Email Filtering Feature
Watch this guide to learn how to use Ultra to empty your mailbox in minutes, today!
Chat with your email inbox like ChatGPT, get a daily to-do list based on your inbox, and much more.
Try Ultra for free today and discover a whole new way to manage your emails with AI. Save time, never miss important emails again, and unleash the full potential of your inbox with Ultra.
Take Control of Your Email Inbox With Ultra — Get To Inbox Zero Daily
Our inboxes have become a battleground for information overload and spam outreach emails. It's easy to feel overwhelmed and frustrated, constantly sifting through long email threads, desperately searching for important action items and crucial information. But what if there was a way to make email management a breeze? Ultra, the AI-powered Gmail assistant that will revolutionize the way you handle your inbox.
Crush Your Inbox with Ultra's AI Todo Generation
One of the biggest challenges of managing emails is keeping track of tasks and action items buried within countless messages. Ultra takes the stress out of this process by automatically generating AI todos based on your emails and calendar. With a simple click, Ultra analyzes your messages and extracts the necessary information, transforming them into actionable tasks. No more missing deadlines or forgetting important follow-ups – Ultra has your back.
Chat with Your Inbox Using Ultra's Email Assistant
Have you ever wished you could converse with your inbox, just like you chat with a friend? Ultra brings this dream to life by integrating an email assistant feature inspired by ChatGPT. You can now communicate with your inbox as if you were having a conversation. Simply ask questions, request specific information, or give instructions, and Ultra will understand and respond promptly. This seamless interaction allows you to find what you need faster and more efficiently.
Skim and Absorb with Ultra's AI-Shortened Summaries
Let's face it – not every email requires your undivided attention. In fact, most messages can be skimmed through quickly to catch the essential points. Ultra's AI-shortened summaries make this process a breeze. By utilizing artificial intelligence, Ultra condenses the content of long emails into concise summaries, allowing you to grasp the key details at a glance. Say goodbye to wasting time on unnecessary reading and hello to increased productivity.
Try Ultra's Free AI Email Assistant Today!
Ready to take control of your inbox and reclaim your time? Give Ultra a try today and experience the power of AI in revolutionizing your email management. Logging in with your Google account is all it takes to get started within minutes. With Ultra, you can breeze through your emails, effortlessly generate AI todos, chat with your inbox, and skim through AI-shortened summaries. Say goodbye to missed emails and hello to increased productivity. Try Ultra now and see the difference for yourself.
Related Reading
• Gmail Spam Filter Not Working
• Free Email Spam Filter For Android
• Email Spam Filter Service
Imagine a world without inboxes.