
Managing Email Overload
How To Automatically Move Emails To A Folder In Gmail
April 19th, 2024
Are you tired of spending hours sifting through your inbox to find important emails? Learn how to automatically move emails to a folder in Gmail to streamline your inbox organization and save valuable time. This blog will teach you how to clean your email in no time. Follow our step-by-step guide to reclaim your inbox and never miss an important message again. Let's get started!
Table of Contents
Benefits Of Using Folders (Labels) For Email Organization In Gmail
How To Edit A Filter To Adjust How Emails Are Sorted In A Folder
How To Change The Automatic Filtering Of Your Inbox Category Tabs In Gmail
Take Control of Your Email Inbox With Ultra — Get To Inbox Zero Daily
Folders In Gmail

Labels in Gmail, as opposed to traditional folders, serve multiple functions. Essentially, they allow users to categorize emails and attach a virtual tag to them. These tags can be based on a variety of criteria such as topic, sender, importance, or project. By assigning labels to emails, users can group related messages together, making them easier to manage and retrieve. This results in better email organization within one’s inbox.
Applying Multiple Labels: Unleashing the Power of Categorization
In Gmail, an email can carry multiple labels simultaneously. This makes the system different from traditional folder structures. Unlike folders that assign a single location to an email, labels allow for a more versatile approach. This way, emails can be classified under multiple categories, making it easier to cross-reference and access them based on numerous criteria.
Functionality of Gmail Labels: Enhancing Email Management
While labels in Gmail have a slightly different functionality as compared to traditional folders, they serve the same purpose – organizing and managing emails effectively. Every label can be used to store a group of related emails, similar to how folders would operate on a computer. The key distinction is that, unlike a folder, one email can have numerous labels attached to it. This capability allows for a more intricate and efficient categorization system.
Filters in Gmail: Automating Inbox Management
Filters in Gmail serve as a vital tool for automatically moving emails to a specific label. By setting up filters based on specific criteria (e.g., sender, subject line, keywords), users can instruct Gmail to automatically mark incoming emails with labels. This process streamlines email management by categorizing and organizing incoming messages without manual intervention.
Visibility of Unread Emails: A Critical Aspect of Gmail Labeling
Even when emails are auto-moved to a label using filters, they remain visible in one spot – the inbox. This unique feature keeps all unread emails within easy reach, reducing the chances of important messages getting overlooked. In this way, Gmail provides a comprehensive system for email organization that enhances efficiency and productivity.
Benefits Of Using Folders (Labels) For Email Organization In Gmail

Flexibility
Labels can be assigned to a single email multiple times, allowing for a more nuanced organization of the inbox. This means that an email can be viewed under different categories without creating duplicates. Labels in Gmail offer a more flexible approach to email organization compared to traditional email organization systems like folders.
Customization
With Gmail labels, users have the freedom to create custom categories based on their unique needs. This level of customization allows for tailored inbox organization that suits a user's workflow.
Easy retrieval
By assigning labels or placing emails in folders, users can easily retrieve specific emails when needed. This saves time and effort searching through a cluttered inbox.
Email preservation
When a label is deleted, the emails within it remain intact. This ensures that emails are preserved even if a user decides to remove a label.
Revolutionize Your Email Experience with Ultra
Everyone is tired of missing important action items and info in long email threads, and getting their emails flooded with spam outreach emails. Imagine a world without inboxes. Email has never been better. Leverage AI to crush your inbox, find what you need, and do more faster. What if an AI took care of your inbox?
With Ultra you can get through your emails in minutes with AI. With Ultra, you can auto-generate AI todo's based on your emails and calendar, You can chat with your inbox like it's ChatGPT (email assistant), and you get AI-shortened summaries so you can skim through it at a glance.
Try Ultra’s free AI email assistant today — just login with Google and you’ll be set to go within minutes. Save time and never miss emails again with Ultra.
Related Reading
• How To Manage Email Subscriptions
• How To Delete Old Emails In Gmail
• How To Delete All Emails
How To Create Folders In Gmail

Creating labels in Gmail is a straightforward process that can be done in three simple ways from your desktop computer. Unfortunately, labels cannot be created via the Gmail app. Let me walk you through these three methods
1. From the Label List
Creating a new label directly from the label list is a quick and easy way to organize your emails. Simply click the plus sign (+) to the right of the Labels title and enter your new label name. You can also choose a parent label to nest it under if applicable.
2. From Gmail Settings
Another method is creating a label from your Gmail Settings. Click the cog icon on the top-right corner of your screen and select See all settings. From there, navigate to the Labels tab and click the Create new label button. Enter your new label name and choose a parent label if needed.
3. From an Email
You can create a label directly from an email. Open the email you want to label, click the Labels icon at the top, and select Create New. Add your new label name and choose a parent label if necessary. This method automatically adds the new label to the email, making it great for organizing emails on a common topic.
Creating folders in Gmail is an essential step in efficiently organizing your emails and automating email management.
How To Automatically Move Emails To A Folder In Gmail
To automatically move emails to a folder in Gmail, you need to create a filter. Here's how you can do it:
1. Go to https://www.gmail.com
To start creating a filter, go to https://www.gmail.com on your computer. You'll need to use the desktop version of Gmail to create filters, as this feature isn't available in the Gmail mobile app.
2. Click the search settings icon
Click the search settings icon, represented by a set of three horizontal sliders. This icon is located in the search bar at the top of your inbox. It allows you to create a filter that automatically sorts incoming messages based on the criteria you enter.
3. Enter the criteria by which you want to filter your messages
Enter the criteria by which you want to filter your messages. For example, if you want messages from a particular sender or domain name to go to a specific folder (label), you should type that sender's email address into the "From" field.
4. Click the Create filter button
Click the Create filter button located at the bottom of the window. This action opens another window in which you can specify what to do with these messages.
5. Check the box next to "Apply the label"
Near the middle of the list, check the box next to "Apply the label."
6. Click Choose label to select a label
Click Choose label to select a label (folder) to which the filtered messages will be moved.
7. Select or create a new label
If you have the label already, click to select it. If not, create one by clicking New label, entering a name, selecting if it should be nested under another label, and clicking Create.
8. Choose whether to apply the filter to existing messages
Decide whether to apply the filter to existing messages by checking the box next to "Also apply filter to (number) matching conversations."
9. Choose whether you want the message to appear in your inbox
Decide whether you want messages to appear in your inbox by checking the box next to "Skip the Inbox (Archive it)" at the top of the window.
10. Click Create filter
Click Create filter at the bottom of the window. All future messages matching the criteria entered will be automatically added to the chosen label, keeping your inbox organized.
How To Edit A Filter To Adjust How Emails Are Sorted In A Folder

To edit a filter in Gmail, follow these steps:
1. Open Gmail on your computer
Make sure you're signed in to Gmail on your computer.
2. Click the gear icon
In the upper-right corner of the Gmail window, click the gear icon.
3. Click See all settings
At the top of the panel on the right, click See all settings.
4. Click the Filters and Blocked Addresses tab
Select the Filters and Blocked Addresses tab at the top of the Settings list.
5. Click edit next to the filter you want to adjust
Choose the filter you want to adjust and click edit. This opens the filter window.
6. Make changes to the criteria
Update the criteria if needed, such as changing keywords in the message, the subject, or the sender's email address.
7. Click Continue
Proceed by clicking Continue to move to the screen that lets you choose what to do with these messages.
8. Change your label assignment
Select Choose label to assign these messages a different label or create a new one.
9. Click the Update filter button
To save your changes, click the Update filter button.
Related Reading
• How To Create Folders In Gmail
• How To Delete All Emails At Once
• Mass Unsubscribe Gmail
• How To Mass Unsubscribe From Emails
• How To Organize Gmail
• Gmail Storage Full
• How To Move Emails To Folders In Gmail
• How To Clear Gmail Storage
• How To Automatically Label Emails In Gmail
• How To Clean Up Gmail
• How To Auto Delete Emails In Gmail
• Email Overload
• How To Organize Gmail Into Folders
• How To Clear Your Email Inbox
• How To Organize Labels In Gmail
• Email Management Strategies
• Best Way To Organize Emails
• Outlook Auto Delete Emails
• How To Clean Out Email
• Gmail Search Syntax
• How To Delete Large Emails In Gmail
• How To Mark Email As Important In Gmail
• How To Use Labels In Gmail
How To Change The Automatic Filtering Of Your Inbox Category Tabs In Gmail
1. Opening Gmail on Your Device
I opened Gmail on my computer, phone, or tablet. By default, Gmail automatically sorts my incoming messages into Primary, Social, Promotions, Updates, and Forums. I can enable or disable these categories anywhere I use Gmail.
2. Accessing Inbox Category Options
On a computer
I clicked the gear icon at the top-right, went to See all settings > Inbox, and selected Default as the "Inbox type
On Android
I tapped the menu at the top-left, went to Settings > my account > Inbox type, tapped Default Inbox, and then tapped Inbox categories
On iPhone/iPad
I tapped the menu at the top-left, went to Settings, tapped Inbox customizations under "Inbox," and then tapped Inbox categories.
On a phone or tablet
I tapped the menu at the top-left, selected Settings, tapped my account, scrolled down toward the bottom, and then tapped Inbox categories.
3. Selecting Desired Categories
I selected the categories I wanted to use, using the checkboxes or toggle switches to change the categories that my emails sort into. For example, to have all my emails show up in the same folder, I disabled all categories except for Primary.
4. Saving Changes (on a computer)
I clicked Save Changes on my computer. If I were using a phone or tablet, my changes would take effect immediately—no Save button would be necessary. To view my inbox categories on a phone or tablet, I would tap the top-left menu and select a category. On a computer, my categories would appear at the top of my inbox.
Complete Step-by-Step Guide On How To Use Ultra's AI Email Assistant To Organize And Manage Your Inbox More Efficiently
Watch this guide to learn how to use Ultra to empty your mailbox in minutes, today!
Chat with your email inbox like ChatGPT, get a daily to-do list based on your inbox, and much more.
Try Ultra for free today and discover a whole new way to manage your emails with AI. Save time, never miss important emails again, and unleash the full potential of your inbox with Ultra.
Take Control of Your Email Inbox With Ultra — Get To Inbox Zero Daily
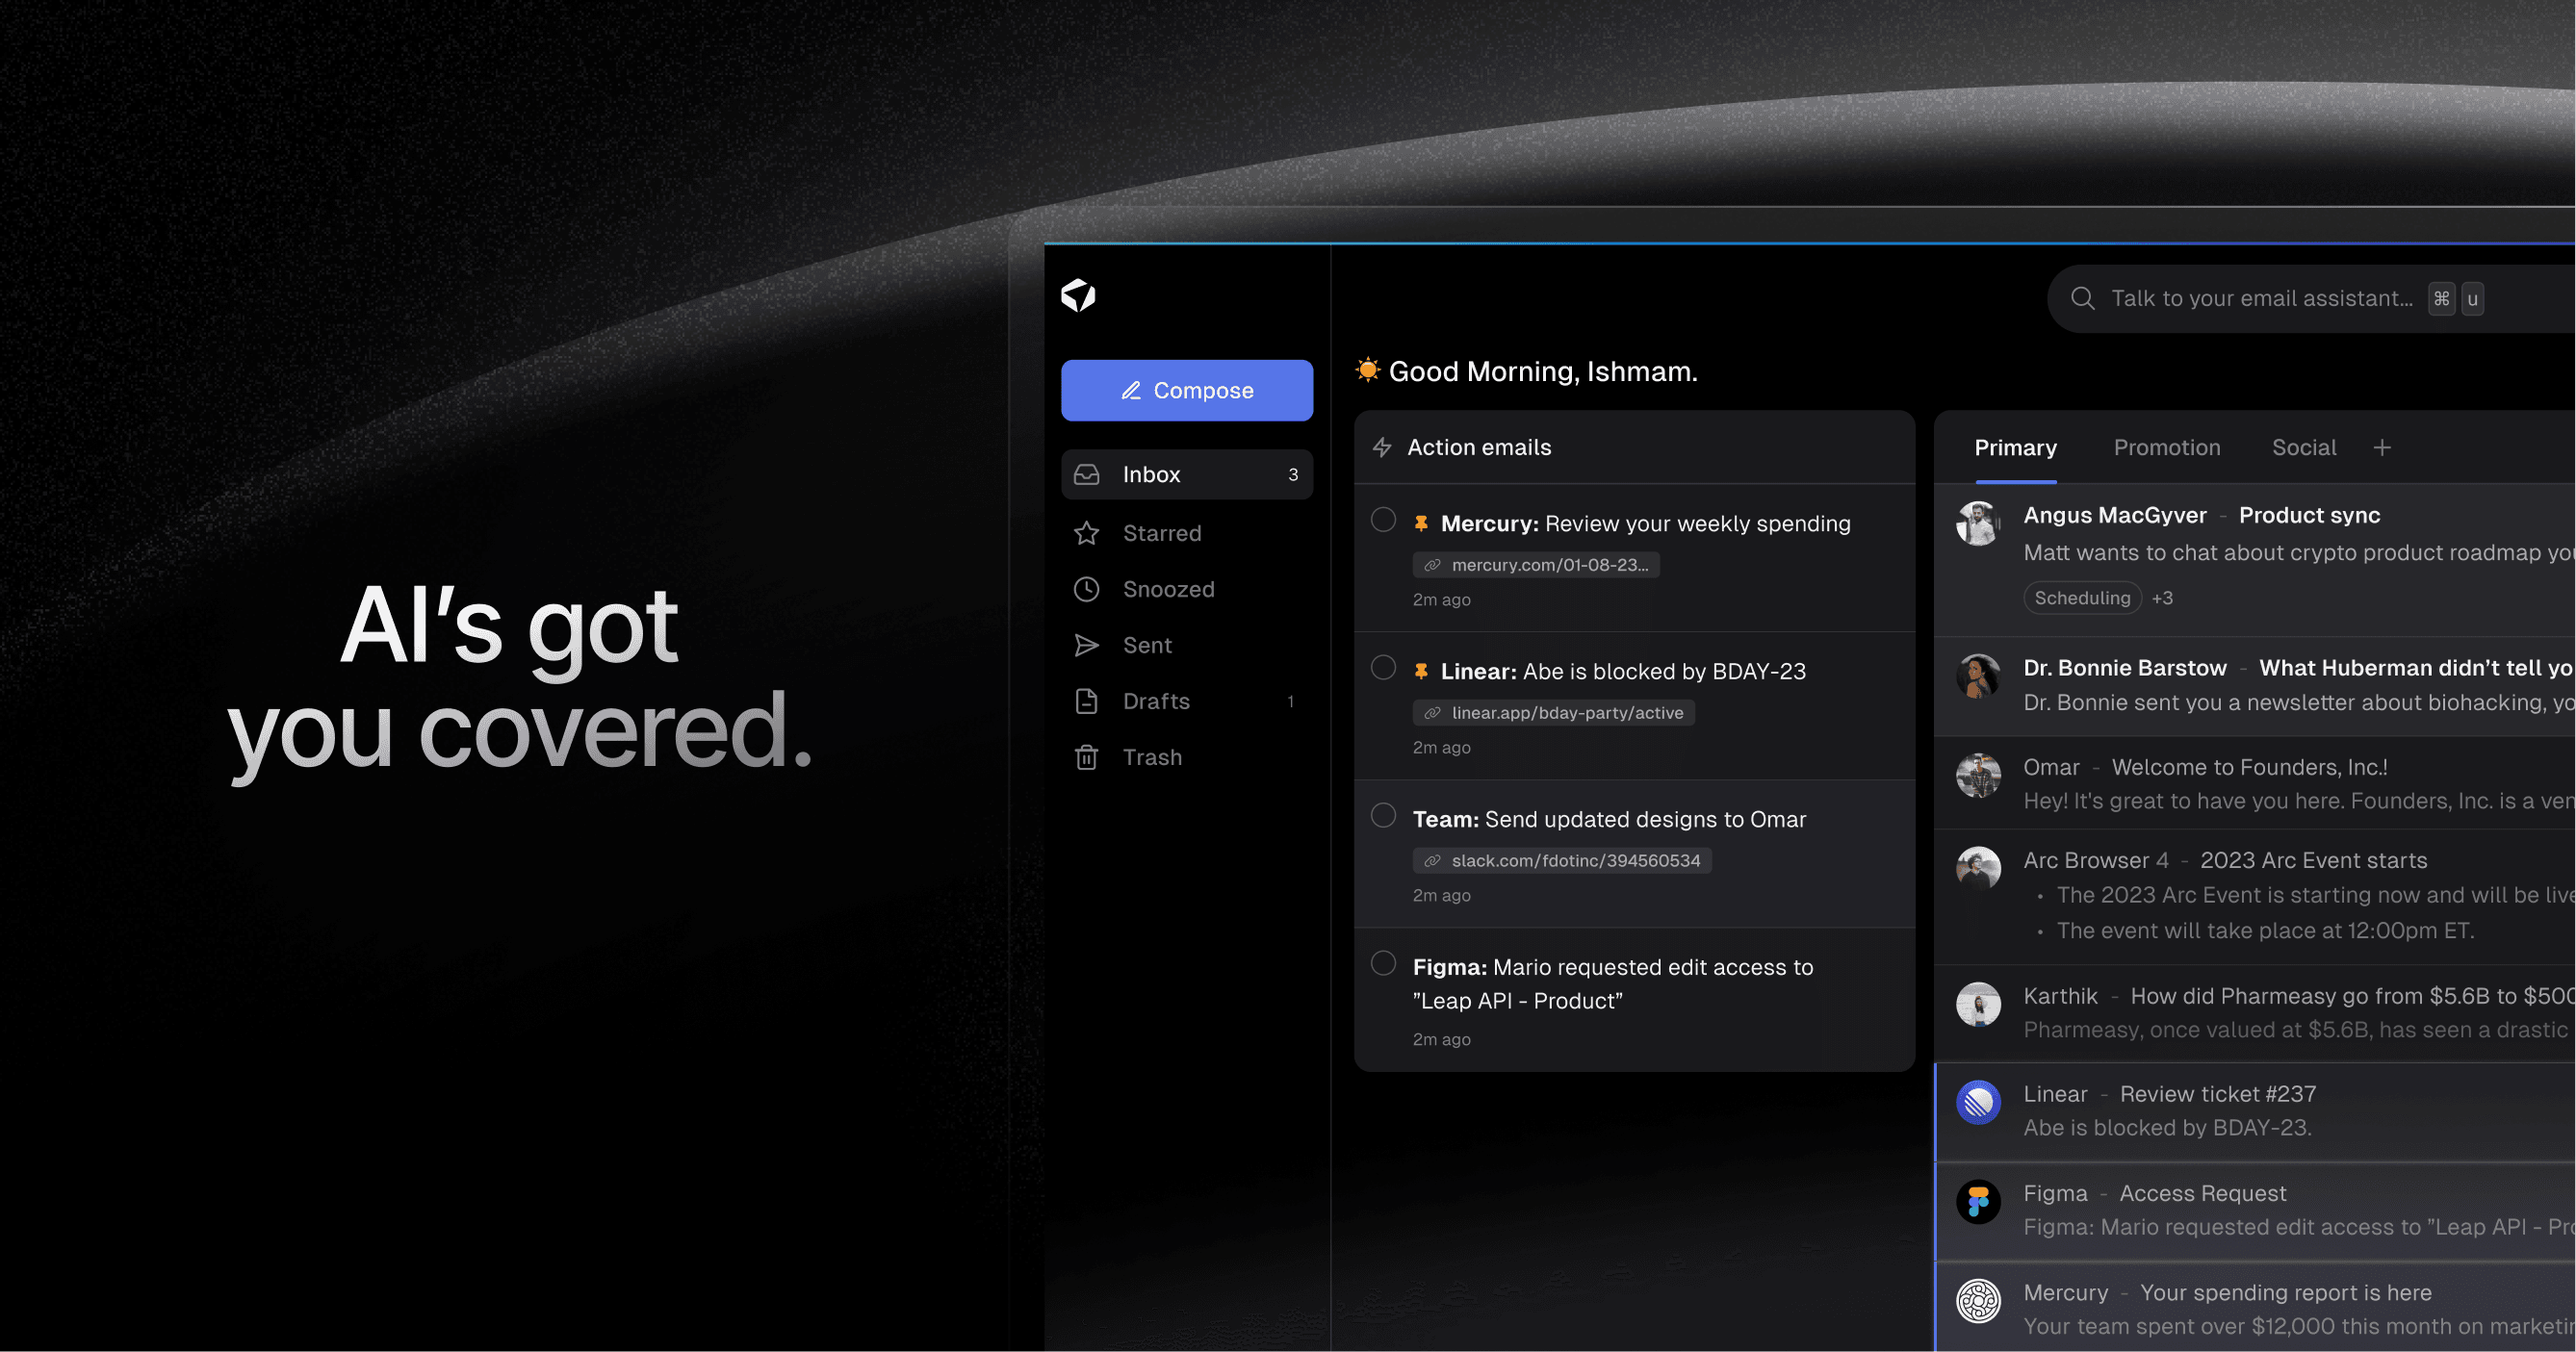
Ultra is a groundbreaking AI tool that can transform your email experience. Using AI to streamline your inbox and ensure you never miss an important email again, Ultra is a game-changer for anyone who receives a high volume of emails on a daily basis. With Ultra, you'll be able to scan through your emails within minutes, allowing you to focus on what's really important.
Auto-Generate AI Todo's Based on Your Emails and Calendar
One of the significant benefits of Ultra is its ability to automatically generate AI to-do lists based on your emails and calendar. This feature helps you prioritize your tasks effectively so you can stay organized and on top of your workload. By utilizing AI to create to-do lists, you can ensure that you never forget an important meeting or task ever again.
Chat with Your Inbox with AI
With Ultra, you can chat with your inbox as if it's a ChatGPT email assistant. This feature allows you to communicate with your emails in a whole new way, making it easier and more intuitive to manage your inbox. By using AI to interact with your emails, you'll be able to find the information you need faster and more efficiently.
Get AI-shortened Summaries for Quick Skimming
Ultra also offers AI-shortened summaries that allow you to skim through your emails at a glance. This feature is incredibly useful for individuals who receive long, detailed emails regularly. With AI-shortened summaries, you can quickly determine the content and relevance of an email without having to read the entire message.
Try Ultra's Free AI Email Assistant Today
If you're tired of missing important emails in long threads, or if you're overwhelmed by spam outreach emails, Ultra is the solution you've been looking for. Try Ultra's free AI email assistant today by logging in with Google. Within minutes, you can take advantage of Ultra's powerful AI capabilities and start saving time on managing your inbox. Give it a try and experience email like never before.
Related Reading
• Unlistr
• Best Email Cleaner
• Clean Email Alternative
• Trimbox Free Alternative
• Unroll Me Alternative
• Email Management Services
• Mailstrom Review
• Mailstrom Vs Clean Email
• Mailbird Alternative
Are you tired of spending hours sifting through your inbox to find important emails? Learn how to automatically move emails to a folder in Gmail to streamline your inbox organization and save valuable time. This blog will teach you how to clean your email in no time. Follow our step-by-step guide to reclaim your inbox and never miss an important message again. Let's get started!
Table of Contents
Benefits Of Using Folders (Labels) For Email Organization In Gmail
How To Edit A Filter To Adjust How Emails Are Sorted In A Folder
How To Change The Automatic Filtering Of Your Inbox Category Tabs In Gmail
Take Control of Your Email Inbox With Ultra — Get To Inbox Zero Daily
Folders In Gmail
Labels in Gmail, as opposed to traditional folders, serve multiple functions. Essentially, they allow users to categorize emails and attach a virtual tag to them. These tags can be based on a variety of criteria such as topic, sender, importance, or project. By assigning labels to emails, users can group related messages together, making them easier to manage and retrieve. This results in better email organization within one’s inbox.
Applying Multiple Labels: Unleashing the Power of Categorization
In Gmail, an email can carry multiple labels simultaneously. This makes the system different from traditional folder structures. Unlike folders that assign a single location to an email, labels allow for a more versatile approach. This way, emails can be classified under multiple categories, making it easier to cross-reference and access them based on numerous criteria.
Functionality of Gmail Labels: Enhancing Email Management
While labels in Gmail have a slightly different functionality as compared to traditional folders, they serve the same purpose – organizing and managing emails effectively. Every label can be used to store a group of related emails, similar to how folders would operate on a computer. The key distinction is that, unlike a folder, one email can have numerous labels attached to it. This capability allows for a more intricate and efficient categorization system.
Filters in Gmail: Automating Inbox Management
Filters in Gmail serve as a vital tool for automatically moving emails to a specific label. By setting up filters based on specific criteria (e.g., sender, subject line, keywords), users can instruct Gmail to automatically mark incoming emails with labels. This process streamlines email management by categorizing and organizing incoming messages without manual intervention.
Visibility of Unread Emails: A Critical Aspect of Gmail Labeling
Even when emails are auto-moved to a label using filters, they remain visible in one spot – the inbox. This unique feature keeps all unread emails within easy reach, reducing the chances of important messages getting overlooked. In this way, Gmail provides a comprehensive system for email organization that enhances efficiency and productivity.
Benefits Of Using Folders (Labels) For Email Organization In Gmail
Flexibility
Labels can be assigned to a single email multiple times, allowing for a more nuanced organization of the inbox. This means that an email can be viewed under different categories without creating duplicates. Labels in Gmail offer a more flexible approach to email organization compared to traditional email organization systems like folders.
Customization
With Gmail labels, users have the freedom to create custom categories based on their unique needs. This level of customization allows for tailored inbox organization that suits a user's workflow.
Easy retrieval
By assigning labels or placing emails in folders, users can easily retrieve specific emails when needed. This saves time and effort searching through a cluttered inbox.
Email preservation
When a label is deleted, the emails within it remain intact. This ensures that emails are preserved even if a user decides to remove a label.
Revolutionize Your Email Experience with Ultra
Everyone is tired of missing important action items and info in long email threads, and getting their emails flooded with spam outreach emails. Imagine a world without inboxes. Email has never been better. Leverage AI to crush your inbox, find what you need, and do more faster. What if an AI took care of your inbox?
With Ultra you can get through your emails in minutes with AI. With Ultra, you can auto-generate AI todo's based on your emails and calendar, You can chat with your inbox like it's ChatGPT (email assistant), and you get AI-shortened summaries so you can skim through it at a glance.
Try Ultra’s free AI email assistant today — just login with Google and you’ll be set to go within minutes. Save time and never miss emails again with Ultra.
Related Reading
• How To Manage Email Subscriptions
• How To Delete Old Emails In Gmail
• How To Delete All Emails
How To Create Folders In Gmail
Creating labels in Gmail is a straightforward process that can be done in three simple ways from your desktop computer. Unfortunately, labels cannot be created via the Gmail app. Let me walk you through these three methods
1. From the Label List
Creating a new label directly from the label list is a quick and easy way to organize your emails. Simply click the plus sign (+) to the right of the Labels title and enter your new label name. You can also choose a parent label to nest it under if applicable.
2. From Gmail Settings
Another method is creating a label from your Gmail Settings. Click the cog icon on the top-right corner of your screen and select See all settings. From there, navigate to the Labels tab and click the Create new label button. Enter your new label name and choose a parent label if needed.
3. From an Email
You can create a label directly from an email. Open the email you want to label, click the Labels icon at the top, and select Create New. Add your new label name and choose a parent label if necessary. This method automatically adds the new label to the email, making it great for organizing emails on a common topic.
Creating folders in Gmail is an essential step in efficiently organizing your emails and automating email management.
How To Automatically Move Emails To A Folder In Gmail
To automatically move emails to a folder in Gmail, you need to create a filter. Here's how you can do it:
1. Go to https://www.gmail.com
To start creating a filter, go to https://www.gmail.com on your computer. You'll need to use the desktop version of Gmail to create filters, as this feature isn't available in the Gmail mobile app.
2. Click the search settings icon
Click the search settings icon, represented by a set of three horizontal sliders. This icon is located in the search bar at the top of your inbox. It allows you to create a filter that automatically sorts incoming messages based on the criteria you enter.
3. Enter the criteria by which you want to filter your messages
Enter the criteria by which you want to filter your messages. For example, if you want messages from a particular sender or domain name to go to a specific folder (label), you should type that sender's email address into the "From" field.
4. Click the Create filter button
Click the Create filter button located at the bottom of the window. This action opens another window in which you can specify what to do with these messages.
5. Check the box next to "Apply the label"
Near the middle of the list, check the box next to "Apply the label."
6. Click Choose label to select a label
Click Choose label to select a label (folder) to which the filtered messages will be moved.
7. Select or create a new label
If you have the label already, click to select it. If not, create one by clicking New label, entering a name, selecting if it should be nested under another label, and clicking Create.
8. Choose whether to apply the filter to existing messages
Decide whether to apply the filter to existing messages by checking the box next to "Also apply filter to (number) matching conversations."
9. Choose whether you want the message to appear in your inbox
Decide whether you want messages to appear in your inbox by checking the box next to "Skip the Inbox (Archive it)" at the top of the window.
10. Click Create filter
Click Create filter at the bottom of the window. All future messages matching the criteria entered will be automatically added to the chosen label, keeping your inbox organized.
How To Edit A Filter To Adjust How Emails Are Sorted In A Folder
To edit a filter in Gmail, follow these steps:
1. Open Gmail on your computer
Make sure you're signed in to Gmail on your computer.
2. Click the gear icon
In the upper-right corner of the Gmail window, click the gear icon.
3. Click See all settings
At the top of the panel on the right, click See all settings.
4. Click the Filters and Blocked Addresses tab
Select the Filters and Blocked Addresses tab at the top of the Settings list.
5. Click edit next to the filter you want to adjust
Choose the filter you want to adjust and click edit. This opens the filter window.
6. Make changes to the criteria
Update the criteria if needed, such as changing keywords in the message, the subject, or the sender's email address.
7. Click Continue
Proceed by clicking Continue to move to the screen that lets you choose what to do with these messages.
8. Change your label assignment
Select Choose label to assign these messages a different label or create a new one.
9. Click the Update filter button
To save your changes, click the Update filter button.
Related Reading
• How To Create Folders In Gmail
• How To Delete All Emails At Once
• Mass Unsubscribe Gmail
• How To Mass Unsubscribe From Emails
• How To Organize Gmail
• Gmail Storage Full
• How To Move Emails To Folders In Gmail
• How To Clear Gmail Storage
• How To Automatically Label Emails In Gmail
• How To Clean Up Gmail
• How To Auto Delete Emails In Gmail
• Email Overload
• How To Organize Gmail Into Folders
• How To Clear Your Email Inbox
• How To Organize Labels In Gmail
• Email Management Strategies
• Best Way To Organize Emails
• Outlook Auto Delete Emails
• How To Clean Out Email
• Gmail Search Syntax
• How To Delete Large Emails In Gmail
• How To Mark Email As Important In Gmail
• How To Use Labels In Gmail
How To Change The Automatic Filtering Of Your Inbox Category Tabs In Gmail
1. Opening Gmail on Your Device
I opened Gmail on my computer, phone, or tablet. By default, Gmail automatically sorts my incoming messages into Primary, Social, Promotions, Updates, and Forums. I can enable or disable these categories anywhere I use Gmail.
2. Accessing Inbox Category Options
On a computer
I clicked the gear icon at the top-right, went to See all settings > Inbox, and selected Default as the "Inbox type
On Android
I tapped the menu at the top-left, went to Settings > my account > Inbox type, tapped Default Inbox, and then tapped Inbox categories
On iPhone/iPad
I tapped the menu at the top-left, went to Settings, tapped Inbox customizations under "Inbox," and then tapped Inbox categories.
On a phone or tablet
I tapped the menu at the top-left, selected Settings, tapped my account, scrolled down toward the bottom, and then tapped Inbox categories.
3. Selecting Desired Categories
I selected the categories I wanted to use, using the checkboxes or toggle switches to change the categories that my emails sort into. For example, to have all my emails show up in the same folder, I disabled all categories except for Primary.
4. Saving Changes (on a computer)
I clicked Save Changes on my computer. If I were using a phone or tablet, my changes would take effect immediately—no Save button would be necessary. To view my inbox categories on a phone or tablet, I would tap the top-left menu and select a category. On a computer, my categories would appear at the top of my inbox.
Complete Step-by-Step Guide On How To Use Ultra's AI Email Assistant To Organize And Manage Your Inbox More Efficiently
Watch this guide to learn how to use Ultra to empty your mailbox in minutes, today!
Chat with your email inbox like ChatGPT, get a daily to-do list based on your inbox, and much more.
Try Ultra for free today and discover a whole new way to manage your emails with AI. Save time, never miss important emails again, and unleash the full potential of your inbox with Ultra.
Take Control of Your Email Inbox With Ultra — Get To Inbox Zero Daily
Ultra is a groundbreaking AI tool that can transform your email experience. Using AI to streamline your inbox and ensure you never miss an important email again, Ultra is a game-changer for anyone who receives a high volume of emails on a daily basis. With Ultra, you'll be able to scan through your emails within minutes, allowing you to focus on what's really important.
Auto-Generate AI Todo's Based on Your Emails and Calendar
One of the significant benefits of Ultra is its ability to automatically generate AI to-do lists based on your emails and calendar. This feature helps you prioritize your tasks effectively so you can stay organized and on top of your workload. By utilizing AI to create to-do lists, you can ensure that you never forget an important meeting or task ever again.
Chat with Your Inbox with AI
With Ultra, you can chat with your inbox as if it's a ChatGPT email assistant. This feature allows you to communicate with your emails in a whole new way, making it easier and more intuitive to manage your inbox. By using AI to interact with your emails, you'll be able to find the information you need faster and more efficiently.
Get AI-shortened Summaries for Quick Skimming
Ultra also offers AI-shortened summaries that allow you to skim through your emails at a glance. This feature is incredibly useful for individuals who receive long, detailed emails regularly. With AI-shortened summaries, you can quickly determine the content and relevance of an email without having to read the entire message.
Try Ultra's Free AI Email Assistant Today
If you're tired of missing important emails in long threads, or if you're overwhelmed by spam outreach emails, Ultra is the solution you've been looking for. Try Ultra's free AI email assistant today by logging in with Google. Within minutes, you can take advantage of Ultra's powerful AI capabilities and start saving time on managing your inbox. Give it a try and experience email like never before.
Related Reading
• Unlistr
• Best Email Cleaner
• Clean Email Alternative
• Trimbox Free Alternative
• Unroll Me Alternative
• Email Management Services
• Mailstrom Review
• Mailstrom Vs Clean Email
• Mailbird Alternative
Imagine a world without inboxes.